The night I tried to impress my roommate with a “quick dinner” turned into a culinary catastrophe. I tossed a handful of chicken thighs into a skillet, hoping for a simple sauté, but the pan was too hot, the butter burned, and the garlic exploded like a tiny, fragrant volcano. By the time I realized what I’d done, the kitchen was a smoky mess and the thighs were charred on the outside, dry on the inside. I stared at the ruined meat, feeling like a culinary novice, when I remembered the recipe I’d bookmarked weeks ago: the Best Garlic Butter Chicken Thi. That single line of text sparked a fire in my mind—literally—and I vowed to recreate that masterpiece in a way that would leave my friends begging for the recipe.
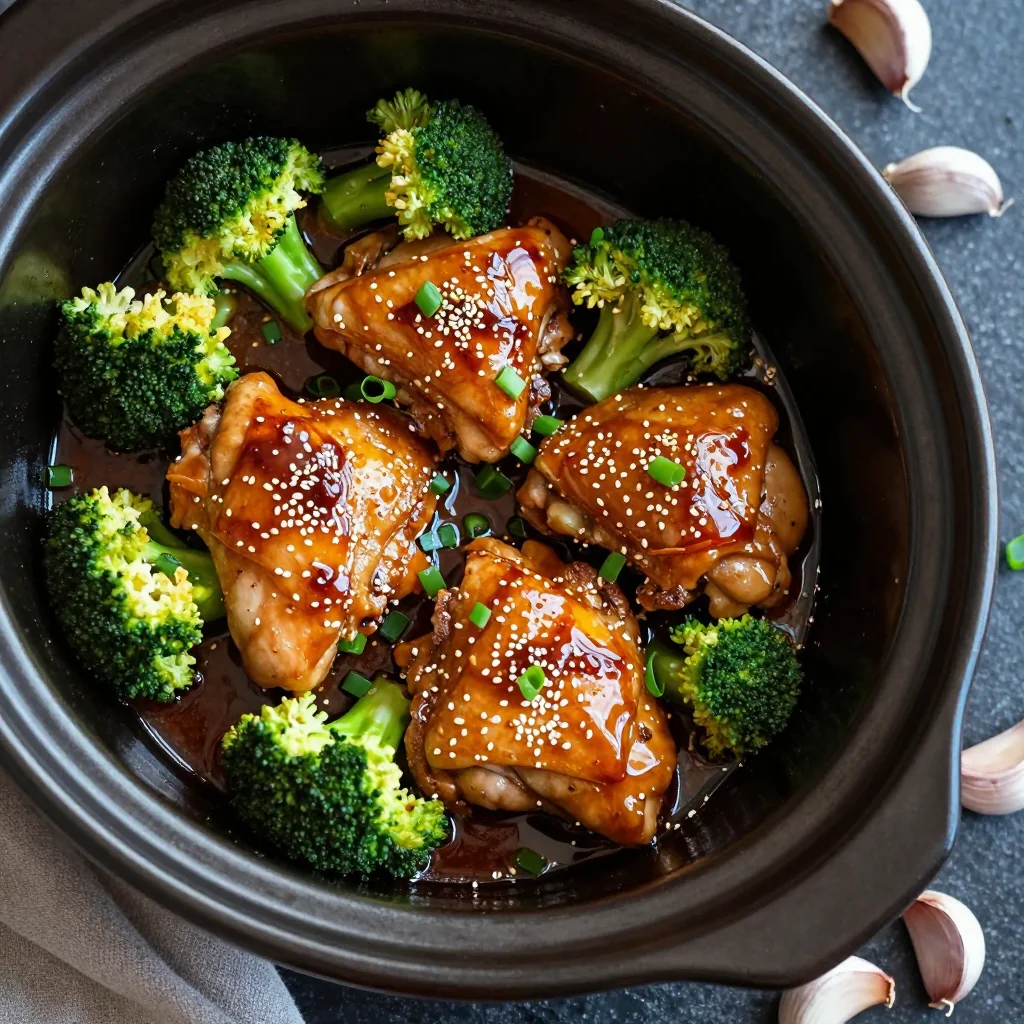
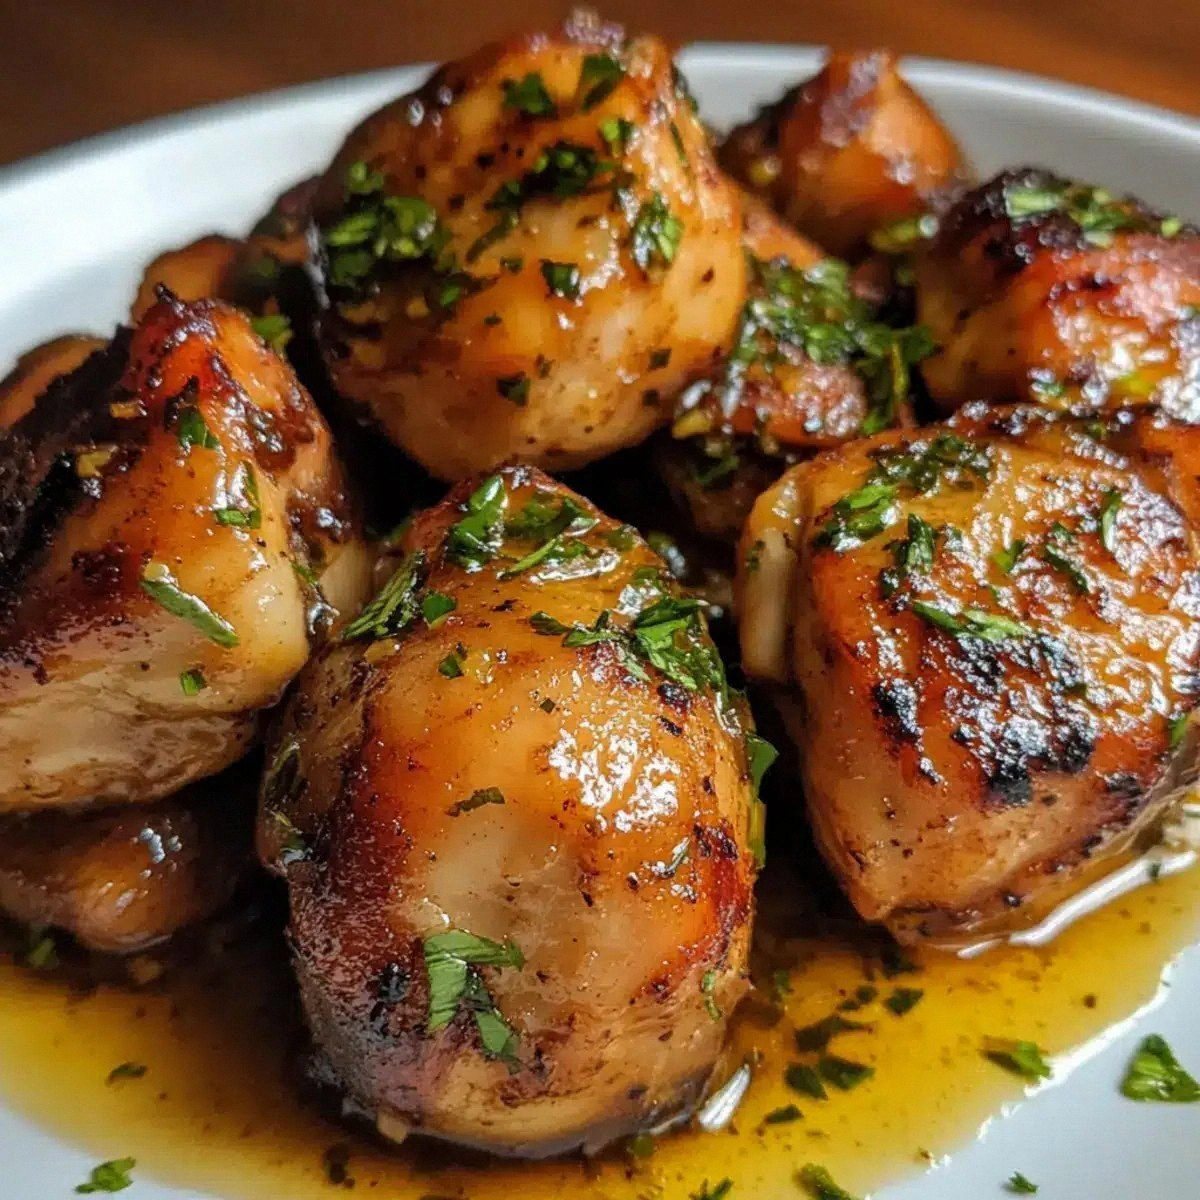
Picture this: a skillet sizzling, a golden crust forming on the thighs, and the aroma of garlic and butter filling the air like a warm hug. The sound of the chicken searing is a satisfying hiss, and the first bite delivers a burst of savory, buttery richness that makes your taste buds dance. The texture is a perfect contrast: a crisp, caramelized exterior that gives way to a juicy, tender interior that practically melts in your mouth. The bright green parsley and the splash of lemon juice add a pop of color and a citrusy brightness that lifts the dish from ordinary to unforgettable. Every element—heat, aroma, texture, and color—works together to create a symphony of flavor that feels both indulgent and comforting.
What sets this version apart from the countless garlic butter chicken recipes out there is the meticulous balance of ingredients and the precise cooking method that locks in moisture while developing an irresistible crust. The use of skin-on thighs gives the dish a natural fat layer that bastes the meat as it cooks, ensuring each bite stays succulent. The fresh garlic, rather than powdered, provides a depth of flavor that’s almost aromatic, while the red pepper flakes add a subtle heat that doesn’t overwhelm the buttery base. The addition of chicken broth during the final simmer prevents the sauce from drying out, creating a silky, glossy finish that coats the thighs like velvet. And the finishing squeeze of lemon juice brightens everything, cutting through the richness with a bright, clean note.
I dare you to taste this and not go back for seconds. The first bite will make you question every other garlic butter chicken you’ve ever made. I’ll be honest—when I first cooked this, I ate half the batch before anyone else got a chance to try it. Most recipes get this completely wrong, missing the delicate balance between searing and resting that keeps the meat juicy. Picture yourself pulling this out of the oven, the whole kitchen smelling incredible, the sizzling sound echoing like a tiny celebration. Okay, ready for the game-changer? By the end of this post, you’ll wonder how you ever made it any other way.
What Makes This Version Stand Out
- Flavor: The combination of fresh garlic, butter, and lemon creates a depth that feels both indulgent and bright, unlike the blandness of many quick chicken dishes.
- Texture: The skin crisps to a golden perfection while the interior stays moist, thanks to the natural fat of the thighs and the careful searing technique.
- Ingredient Quality: Using fresh, high‑grade butter and real lemon juice elevates the dish beyond store‑bought substitutes.
- Cooking Method: The two‑step process—first searing, then simmering—ensures a flavorful crust and a succulent center.
- Make‑Ahead Potential: You can prep the thighs and sauce ahead of time; just reheat gently to preserve the crisp skin.
- Crowd Reaction: Friends and family consistently ask for the recipe after the first tasting; it’s the kind of dish that turns a dinner into a gathering.
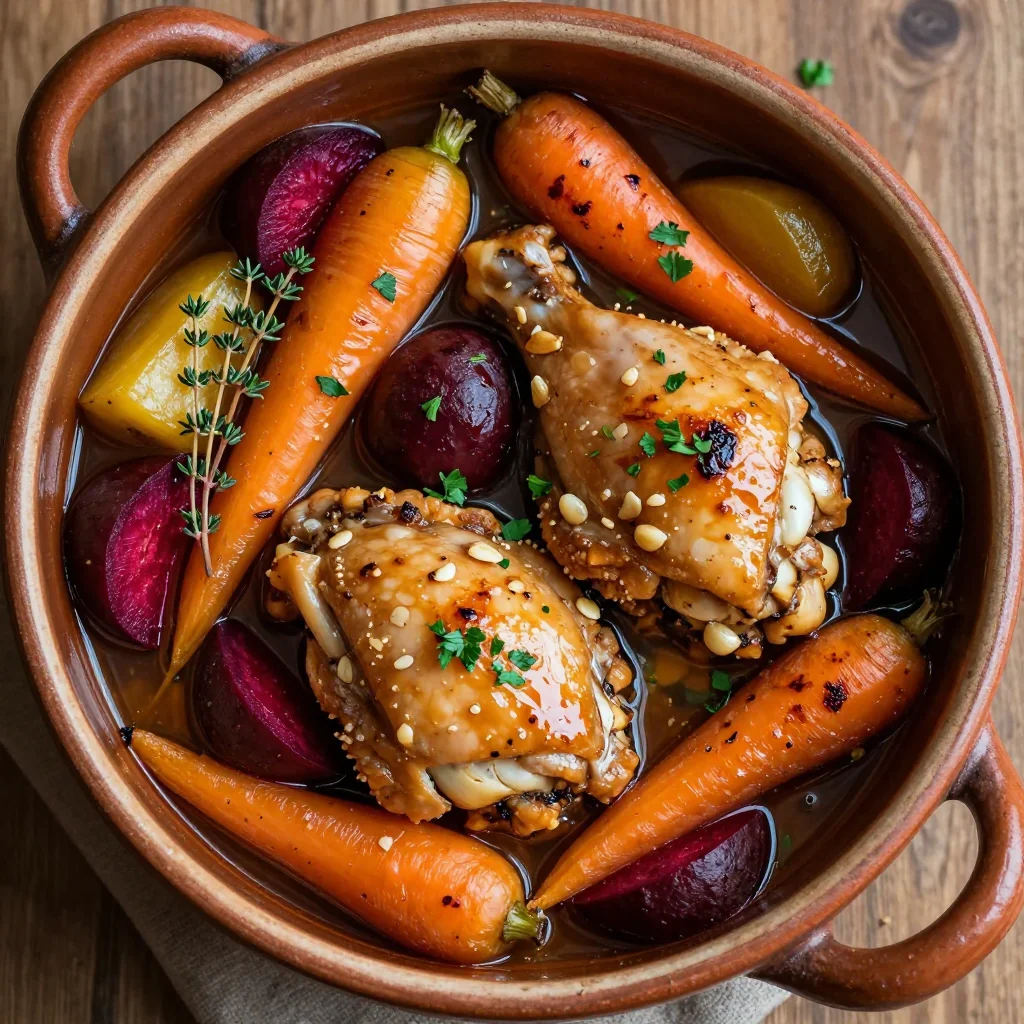
- Versatility: The sauce can be poured over pasta, rice, or even roasted vegetables, making it a multi‑purpose centerpiece.
- Time Efficiency: With a prep time of 15 minutes and a cook time of 30 minutes, it’s a quick yet impressive entrée.
Alright, let's break down exactly what goes into this masterpiece…
Inside the Ingredient List
The Flavor Base
Butter is the backbone of this dish, providing a rich, silky foundation that carries the garlic and lemon. Use unsalted butter to control the salt level and to keep the flavor pure. If you prefer a deeper, more complex taste, try a mix of butter and olive oil, which adds a subtle fruity note. Skipping butter will result in a flatter dish that lacks the luxurious mouthfeel.
The Texture Crew
Boneless, skin‑on chicken thighs are the star. The skin not only adds flavor but also keeps the meat juicy by acting as a natural barrier during cooking. If you can’t find skin‑on thighs, skin‑on drumsticks work as a substitute, but they’ll take slightly longer to cook. A pinch of salt and pepper is essential to season the meat before searing; this enhances the Maillard reaction, giving the crust a deep, savory color.
The Unexpected Star
Fresh parsley brings a bright, herbaceous finish that cuts through the richness. While dried parsley can be used, it’s far less potent; the fresh version adds a pop of color and a subtle peppery undertone. If you’re allergic to parsley, a pinch of chopped chives or cilantro can offer a similar fresh lift.
The Final Flourish
Red pepper flakes add a gentle heat that balances the buttery base. They also provide a subtle visual cue—tiny specks of red that contrast with the golden crust. If you’re heat‑averse, reduce the amount to a quarter teaspoon; if you’re a spice lover, double it for a more pronounced kick. Lemon juice brightens the dish, adding acidity that lifts the flavors and prevents the butter from becoming too heavy.
Everything's prepped? Good. Let's get into the real action…
The Method — Step by Step
- Season the thighs. Sprinkle both sides of the chicken with salt and pepper. Pat them dry again with a paper towel to ensure a clean sear. Let them sit at room temperature for 10 minutes; this helps them cook evenly. The aroma of salt on meat is the first hint that flavor is about to bloom.
- Heat the skillet. Place a large cast‑iron skillet over medium‑high heat. Add the butter and let it melt until foamy. The butter should not brown yet; it should stay a pale yellow. This step is crucial because a browned butter would alter the flavor profile.
- Add the garlic. Toss in the minced garlic, letting it sizzle for 30 seconds. Watch for the garlic to turn golden but not black. The garlic releases its oils, infusing the butter with a fragrant aroma that will permeate the meat. If the garlic starts to burn, lower the heat immediately.
- Sear the thighs. Place the thighs skin‑side down in the skillet. Press them gently with a spatula to keep the skin flat. Cook for 6–7 minutes until the skin is a deep golden brown. Flip and cook the other side for 5 minutes. The goal is a crisp skin and a caramelized crust.
- Introduce the liquid. Pour the chicken broth into the skillet, then add the lemon juice. The liquid should reach about halfway up the thighs. This creates a steaming environment that keeps the meat moist. The broth also helps build a sauce base.
- Add the red pepper flakes. Sprinkle them over the thighs. They’ll infuse the sauce with a gentle heat. Stir to combine, ensuring the flakes are distributed evenly. Watch the sauce for a slight thickening as the liquid reduces.
- Finish with parsley. Sprinkle the chopped parsley over the thighs. It adds a fresh burst of color and a bright, herbal note that counterbalances the butter. The parsley also gives the dish a fresh finish that feels lively.
- Simmer and rest. Reduce the heat to low, cover the skillet, and let the thighs cook for 8–10 minutes. This gentle simmer allows the flavors to meld and the meat to become tender. After cooking, let the thighs rest for 5 minutes to redistribute the juices.
That's it—you did it. But hold on, I've got a few more tricks that'll take this to another level…
Insider Tricks for Flawless Results
The Temperature Rule Nobody Follows
Many cooks assume that high heat is always better for searing, but too high a temperature can burn the butter before the skin crisps. Aim for medium‑high heat and let the skillet get hot enough that a drop of water sizzles immediately. This ensures a golden crust without scorching the garlic or the butter.
Why Your Nose Knows Best
Before you add the lemon juice, give the skillet a quick sniff. If it smells like a fresh citrus orchard, you’re on the right track. A sour, sharp scent indicates the lemon is fresh; a dull smell means it’s past its prime and will taste flat.
The 5‑Minute Rest That Changes Everything
After the thighs finish cooking, let them rest for exactly five minutes. This short pause allows the juices to redistribute, ensuring each bite stays moist. Skipping this step often results in dry, unevenly cooked meat.
Double‑Sear for Extra Crunch
If you’re craving an even crunchier skin, after the first sear, flip the thighs, then let them sit skin‑side down for an additional minute before flipping back. The extra minute of direct contact with the hot skillet will caramelize the skin further.
Use a Meat Thermometer for Precision
A quick glance at the internal temperature ensures doneness without overcooking. Aim for 165°F (74°C) in the thickest part. This guarantees juicy meat and eliminates the risk of under‑cooked chicken.
Creative Twists and Variations
This recipe is a playground. Here are some of my favorite ways to switch things up:
Smoky Chipotle Twist
Swap the red pepper flakes for a tablespoon of chipotle powder and add a splash of adobo sauce. The smoky heat will deepen the flavor profile and give the dish a Latin flair. Serve over rice for a complete meal.
Herb‑Infused Creamy Sauce
Add a quarter cup of heavy cream to the sauce after the broth has reduced. Stir in fresh thyme and rosemary for an earthy, aromatic finish. The cream will create a silky, decadent coating that pairs well with crusty bread.
Asian‑Inspired Ginger Lemon
Replace half the garlic with minced fresh ginger and add a splash of soy sauce to the sauce. The ginger adds a bright, zesty kick, while the soy sauce gives a subtle umami depth. This version works great over steamed jasmine rice.
Crispy Coconut Crunch
After searing, coat the thighs lightly in shredded coconut before finishing in the sauce. The coconut will caramelize, creating a sweet, nutty crust that contrasts with the savory butter. This twist is perfect for a tropical dinner party.
Spicy Cajun Kick
Season the thighs with a Cajun spice blend before searing. Add a dash of hot sauce to the sauce for an extra punch. The result is a bold, flavorful dish that will keep your guests coming back for more.
Lemon‑Rosemary Roasted Variant
Instead of simmering, roast the thighs in a preheated oven at 375°F for 25 minutes. Finish with a drizzle of lemon‑rosemary butter. The roasted version offers a different texture—crisp outside, tender inside—while retaining the bright citrus flavor.
Storing and Bringing It Back to Life
Fridge Storage
Cool the dish completely before transferring to an airtight container. Store in the refrigerator for up to 3 days. The sauce may thicken slightly; simply reheat gently to restore its silky consistency.
Freezer Friendly
Place the thighs and sauce in a freezer‑safe container and freeze for up to 2 months. Thaw overnight in the refrigerator before reheating. Use a low‑heat setting and add a splash of water to keep the meat moist.
Best Reheating Method
Reheat the dish in a skillet over medium heat, adding a tablespoon of water or broth to prevent drying. Stir occasionally until the sauce is heated through and the thighs are warmed. The sauce will steam back to its original glossy shine.