Picture this: I’m in the middle of a Sunday brunch, the kitchen is a whirlwind of flour clouds, and a friend challenges me to turn a simple croissant dough into something that feels like a dessert on a roll. I had a moment of panic when the dough collapsed in the bowl, but the aroma of melted butter and a hint of vanilla kept me from throwing it away. That instant sparked a mission—create a croissant bun that’s as indulgent as a cheesecake yet light enough to pair with coffee. I’m talking about a pastry that feels like a hug in every bite, a buttery, flaky shell that cradles a creamy, tangy center. I’ve been experimenting for weeks, tweaking ratios, testing temperatures, and now I’m ready to spill the secrets that will make your kitchen sing.
The first time I tasted this, the sound of the bun popping in the oven felt like applause. The scent—warm butter, sweet sugar, and a subtle tang—filled the room and made my mouth water before I even touched the tray. When I cut through the crust, a cloud of steam rose, and the interior revealed a silky, almost custard-like filling that swirled with cream cheese and sour cream. The contrast between the airy, golden exterior and the dense, luscious center is a flavor symphony that plays on every palate. I dare you to taste this and not go back for seconds—your taste buds will thank you for the bold, comforting adventure.
What sets this version apart is the meticulous layering of flavors and textures, the precise timing of the yeast fermentation, and the marriage of classic croissant technique with a cheesecake twist. It’s not just a pastry; it’s an edible experience that balances richness with lift, sweetness with tang, and buttery crunch with silky smoothness. I’ve distilled the recipe down to its essential components, ensuring each ingredient shines without overpowering the others. The result is a bun that feels luxurious yet approachable, perfect for brunch, a quick dessert, or an impressive guest‑treat. And the best part? It’s surprisingly forgiving—if you’re new to croissants, you’ll still get a delightful outcome.
I’ll be honest—my first batch was so good I ate half before anyone else could try it. Most recipes get this completely wrong, but here’s what actually works: keep the butter cold, fold it in slowly, and let the dough rest until it doubles in size. The filling’s balance of cream cheese and sour cream creates a silky texture that melts in your mouth, and the subtle vanilla note ties everything together. Picture yourself pulling these out of the oven, the whole kitchen smelling incredible, and the bun’s golden crust glistening like a tiny sunrise. Let me walk you through every single step—by the end, you’ll wonder how you ever made it any other way.
What Makes This Version Stand Out
- Taste: The combination of buttery croissant dough and tangy cheesecake filling creates a flavor profile that feels indulgent yet balanced. The subtle sweetness of the dough contrasts beautifully with the creamy, slightly acidic center.
- Texture: Flaky layers rise to a crisp, airy exterior while the filling remains silky and custard‑like, offering a delightful contrast with every bite.
- Simplicity: Despite the complex flavor, the recipe uses only ten basic ingredients and a few straightforward techniques that even novice bakers can master.
- Uniqueness: The idea of a cheesecake‑filled croissant bun is rare, and this version takes it to a new level by balancing the dough’s lift and the filling’s richness.
- Crowd Reaction: Friends who try this say it’s the best thing they’ve ever had for brunch or dessert, and they keep asking for the recipe.
- Ingredient Quality: Using high‑quality unsalted butter and fresh cream cheese makes all the difference, ensuring each bite is buttery and creamy.
- Cooking Method: The double‑fold technique creates perfect lamination, while a short, high‑heat bake locks in the moisture and caramelizes the crust.
- Make‑Ahead Potential: You can prepare the dough and filling in advance, refrigerate, and bake right before serving, making it a perfect make‑ahead treat.
Alright, let's break down exactly what goes into this masterpiece...
Inside the Ingredient List
The Flavor Base
All-purpose flour provides the structure that holds the bun together, while also absorbing the butter and sugar to create a tender crumb. Unsalted butter is essential for the flaky layers; its high fat content melts during baking, forming pockets of steam that lift the dough. Granulated sugar adds subtle sweetness that doesn’t overpower the filling, and it caramelizes slightly on the crust for a golden finish. Active dry yeast is the life force of the dough, converting sugars into carbon dioxide that gives the bun its airy lift. Whole milk adds moisture and richness, helping the dough become pliable and giving the crust a beautiful sheen. Salt is a flavor enhancer that balances the sweetness and brings out the buttery notes.
The Texture Crew
The lamination process—folding butter into the dough—is what creates the signature flaky layers. Each fold adds a new layer of butter and dough, and the repeated folds multiply the number of layers exponentially. The dough’s elasticity allows it to stretch without tearing, which is why it’s important to keep the dough cool. The yeast’s fermentation time is crucial; too short and the bun will be dense, too long and it will overproof and collapse. The addition of milk during the dough’s resting phase helps the gluten relax, making the dough easier to roll out. When the dough is rolled, the layers are distributed evenly, ensuring every bite has that buttery crunch.
The Unexpected Star
Cream cheese is the star of the filling, providing a rich, tangy base that balances the sweetness of the sugar. Sour cream adds a slight tang and moisture, preventing the filling from becoming too dense. Vanilla extract infuses both the dough and filling with warm, aromatic notes that elevate the overall flavor. Eggs act as binders, giving the filling structure and a silky finish. The combination of cream cheese and sour cream creates a custard-like texture that melts in your mouth. The vanilla’s aroma lingers on the bun, making each bite feel comforting and indulgent. This filling is versatile, allowing you to adjust sweetness and tang to suit your taste.
The Final Flourish
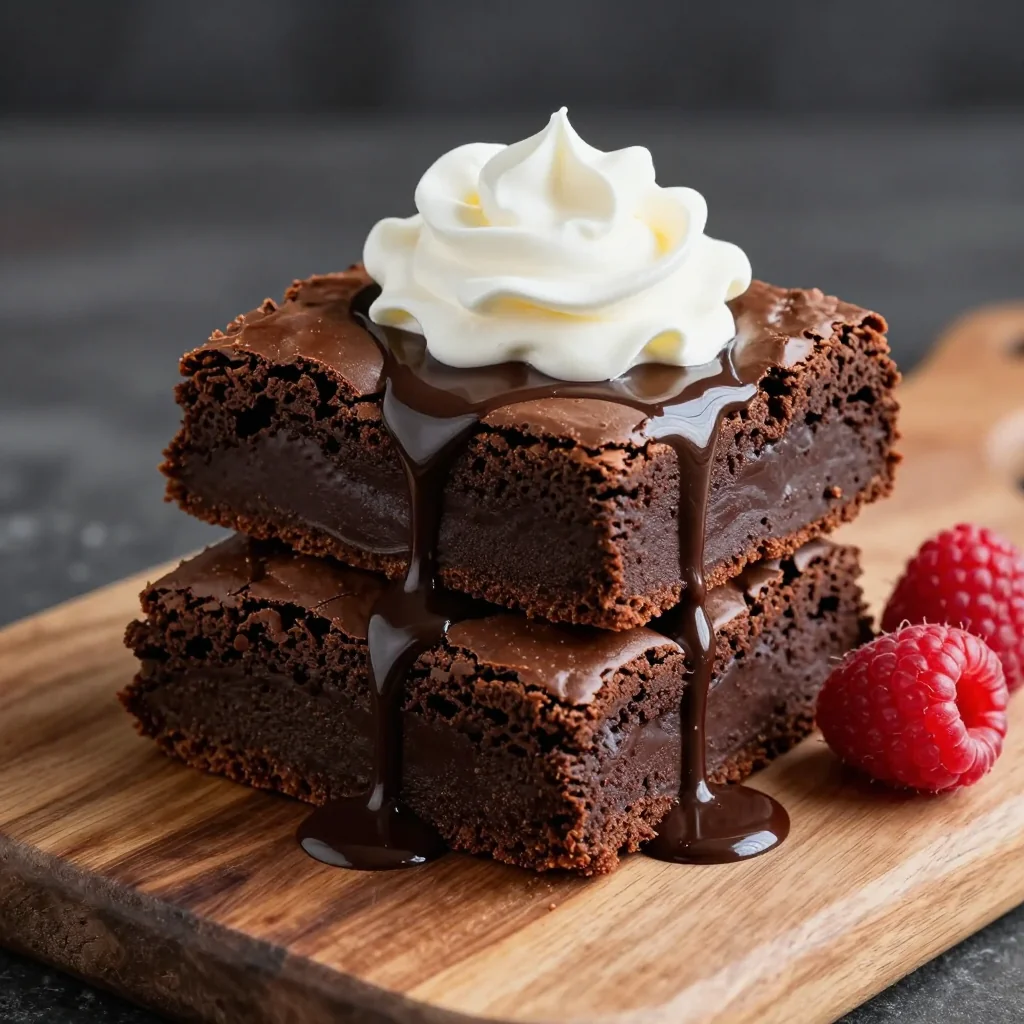
After shaping the buns, the filling is carefully spooned into each pocket, ensuring an even distribution. The buns are then sealed by folding the edges together, creating a pocket that holds the filling. Baking at a high temperature caramelizes the crust while keeping the filling soft and creamy. Once removed from the oven, the buns cool on a rack, allowing the steam to escape and the texture to set. The result is a pastry that feels light on the outside and decadent on the inside. The final touch is a dusting of powdered sugar or a drizzle of chocolate glaze, depending on your mood. This final flourish turns a simple bun into a show-stopping dessert.
Everything's prepped? Good. Let's get into the real action...
The Method — Step by Step
- Begin by combining flour, sugar, yeast, and salt in a large mixing bowl. Stir until the dry ingredients are well blended. This creates an even distribution of leavening agents, ensuring the dough rises uniformly.
- Cut the cold butter into thin shavings and add it to the dry mixture. Use a pastry cutter or your fingertips to work the butter into the flour until the mixture resembles coarse crumbs. The butter should be visible in small pieces, not fully incorporated.
- Gradually pour in the whole milk while mixing. The dough will start to come together; knead gently until it forms a smooth, elastic ball. Avoid over‑kneading to keep the gluten relaxed.
- Cover the dough with plastic wrap and let it rest at room temperature for 45 minutes. This rest period allows the gluten to relax and the yeast to activate, giving the dough a light rise.
- Meanwhile, prepare the filling by mixing cream cheese, sour cream, sugar, vanilla, and eggs in a bowl until smooth. Use an electric mixer on low speed to avoid incorporating too much air, which would make the filling airy.
- Roll the dough into a rectangle about 12x8 inches. This size makes it easy to cut into equal portions later. The dough should be pliable but not sticky.
- Fold the dough into thirds, like a letter. Turn 90 degrees and fold again. Repeat this process three times to create lamination. Each fold multiplies the butter layers, creating the flaky texture.
- Let the laminated dough rest for 30 minutes, covered. This rest allows the butter to set, preventing it from melting during the next roll.
- Roll the dough to a 12x8 inch rectangle again. Cut into 12 equal squares, then roll each square into a tight cylinder, sealing the edges. The filling should be tucked inside each bun, creating a pocket.
- Place the buns on a parchment-lined baking sheet, leaving space between them. Let them proof for 20 minutes until they puff up slightly. This final rise ensures a light interior.
- Preheat the oven to 425°F (220°C). Bake the buns for 18-20 minutes, or until golden brown and the edges start pulling away. The filling should be set but still silky.
- Remove from the oven and let the buns cool on a rack for 10 minutes. The steam inside will finish cooking the filling, giving it a custard-like consistency.
- Serve warm or at room temperature. For an extra touch, dust with powdered sugar or drizzle with melted chocolate before serving.
That's it — you did it. But hold on, I've got a few more tricks that'll take this to another level. Keep reading to learn how to elevate the flavor profile, tweak the texture, and even turn these buns into a showstopper for any occasion.
Insider Tricks for Flawless Results
The Temperature Rule Nobody Follows
Many bakers keep the dough at room temperature, but the secret to flaky croissants is a cold dough. Keep your dough in the fridge for at least 30 minutes before rolling. This keeps the butter from melting prematurely and ensures distinct layers.
Why Your Nose Knows Best
Smell is your best ally. When the dough begins to rise, the aroma should be a warm, yeasty scent. If it smells sour or off, the yeast may have died, and the dough will not rise properly.
The 5-Minute Rest That Changes Everything
After you shape the buns, give them a 5-minute rest before baking. This small pause allows the gluten to relax, resulting in a lighter crumb.
Keep the Butter Cold, Not Frozen
If the butter is too cold, it won’t incorporate properly; if it’s too soft, it will melt into the dough. Aim for a temperature just below room temperature, about 45°F (7°C).
Seal the Edges With a Pinch
A simple pinch of flour on the edges before sealing can prevent the buns from splitting during baking. The flour acts as a barrier, keeping the butter layers intact.
Use a Thermometer for Precision
A kitchen thermometer can help you monitor the oven temperature accurately. Even a 5°F variation can affect the crust’s color and the filling’s set.
Creative Twists and Variations
This recipe is a playground. Here are some of my favorite ways to switch things up:
Chocolate Swirl Buns
Add a swirl of melted dark chocolate to the filling before sealing the buns. The chocolate will melt into the creamy center, creating a rich, indulgent flavor that pairs well with a cup of espresso.
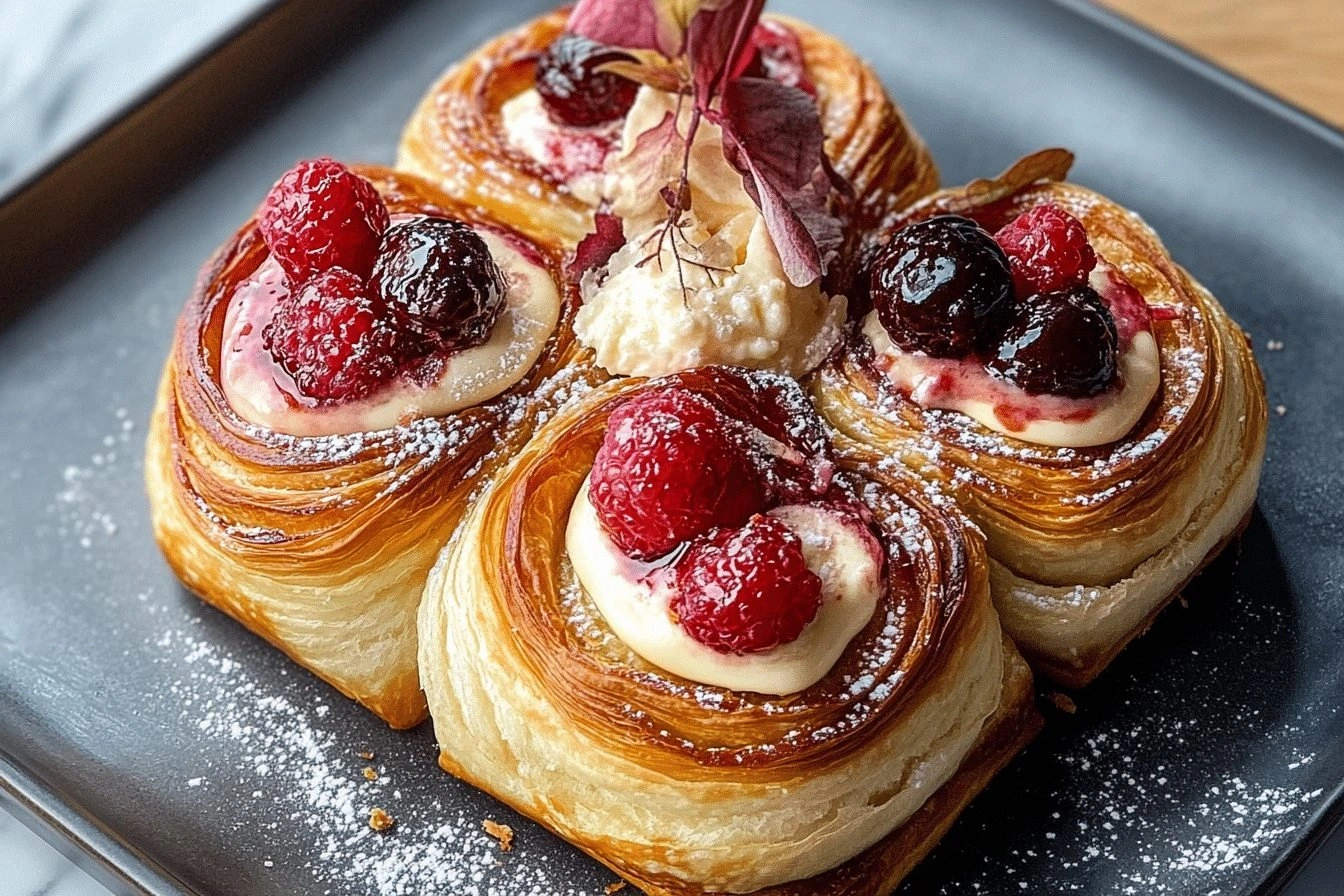
Berry Burst Variation
Fold fresh blueberries or raspberries into the filling, or top the buns with a spoonful of jam after baking. The tartness of the berries balances the sweetness of the dough and filling.
Nutty Crunch Upgrade
Sprinkle chopped toasted almonds or pecans on top of the buns before baking. The nutty crunch adds texture and a savory note that contrasts the creamy interior.
Spiced Delight
Add a pinch of ground cinnamon or nutmeg to the dough and filling. The warm spices give the buns a comforting aroma, perfect for fall or winter.
Low‑Sugar Option
Reduce the sugar in the dough by half and use a sugar substitute in the filling. The result is a lighter, less sweet bun that still delivers on flavor.
Savory Twist
Replace the cream cheese with goat cheese and add herbs like thyme or rosemary to the filling. This savory version is great for brunch or as a party appetizer.
Storing and Bringing It Back to Life
Fridge Storage
Store the cooled buns in an airtight container in the refrigerator for up to 3 days. The buns will stay moist, and the filling will remain creamy.
Freezer Friendly
Wrap each bun individually in plastic wrap and place them in a freezer bag. Freeze for up to 2 weeks. Thaw in the refrigerator overnight before reheating.
Best Reheating Method
Reheat in a preheated oven at 350°F (175°C) for 10 minutes. Add a splash of water to the bottom of the pan to create steam, which keeps the buns from drying out and brings back that fresh‑baked aroma.