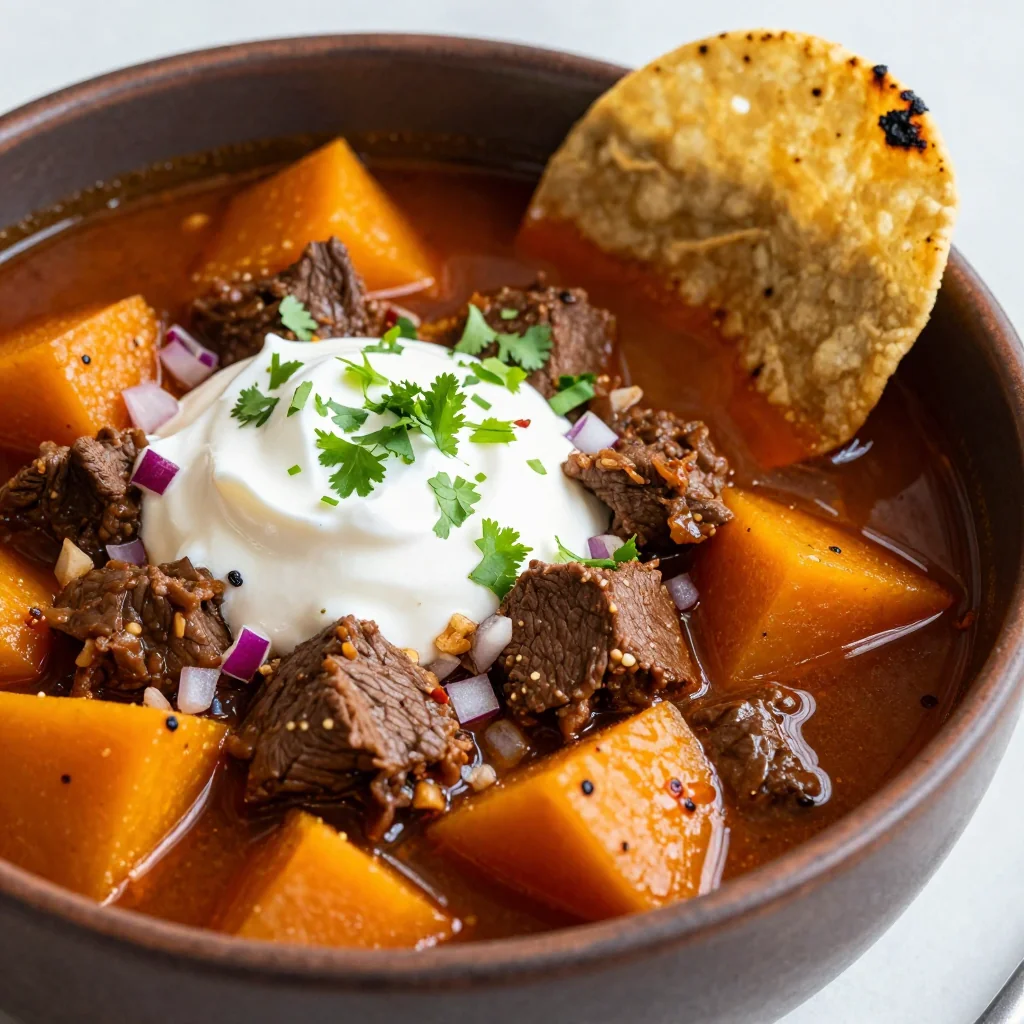
I was halfway through a midnight snack binge when the pantry light flickered and my eyes landed on a lonely container of cottage cheese. I had never imagined that a simple dairy product could be the secret weapon in a crunchy, savory snack. The moment the cheese hit the skillet, I could almost hear the promise of crispness echoing through the kitchen. That sizzling sound was the overture to a culinary revelation that would soon become my favorite go-to for a quick, protein-packed bite.
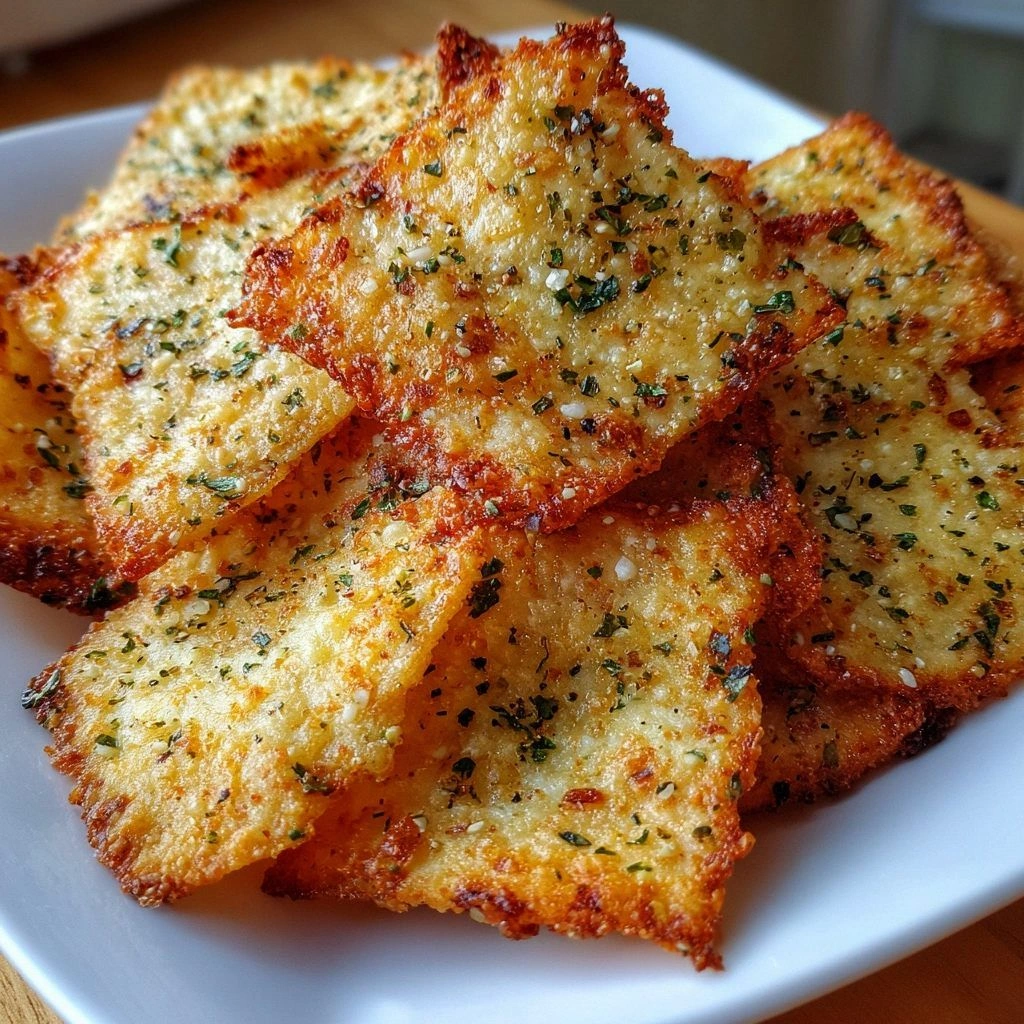
Picture this: a golden, peppered crust forming on a bed of creamy, velvety cottage cheese. The aroma rises like a warm, buttery sunrise, tinged with the subtle smokiness of paprika. Each chip crackles like a tiny fireworks display as it fries, releasing a savory perfume that makes the whole house feel like a gourmet kitchen. The texture is a delightful paradox—crisp on the outside, tender and airy inside—like biting into a cloud that suddenly turns into a crunchy shell.
I dare you to taste this and not go back for seconds. The flavor profile is a symphony: the sharp, nutty bite of Parmesan, the earthy depth of garlic and onion powders, and the gentle heat of black pepper all harmonizing over a base that feels like a fresh, creamy cloud. The olive oil on top adds a glossy sheen and a subtle, fruity finish that lingers on the palate. If you've ever struggled with bland snack options, you're not alone—and I've got the fix.
Most recipes get this completely wrong. They either overcook the cheese, leaving it rubbery, or underseason it, resulting in a forgettable crunch. The secret? A precise blend of dairy, cheese, and flour that balances moisture and crispness, plus a finishing touch of olive oil that seals in flavor. This version is hands down the best you’ll ever make at home. The result is a snack that feels indulgent yet light, and it’s so easy you’ll wonder why you didn’t discover it sooner.
Picture yourself pulling this out of the oven, the whole kitchen smelling incredible, and friends arriving with their mouths open. The anticipation is almost as delicious as the final product. The moment the first chip lands on your tongue, you’ll taste the harmony of cheese, herbs, and that satisfying crunch that shatters like thin ice. Your guests will be amazed, and you’ll be the hero of the evening.
If you’re ready for a snack that will elevate any gathering, let me walk you through every single step. By the end, you’ll wonder how you ever made it any other way. The method is straightforward, but the flavor is unforgettable. Each bite will remind you that simplicity can be spectacular. And trust me, you’ll be reaching for the next batch before the first one has even cooled.
The beauty of these chips lies in their versatility. They’re perfect as a party appetizer, a quick snack between meetings, or a crunchy side to your favorite soup. The ingredients are pantry staples, and the process is a breeze. All you need is a bit of patience, a good oven, and a sprinkle of confidence.
Now that you’re primed, let’s dive into what makes this version stand out from every other recipe out there. I’ll break it down into bite-sized, punchy points that will help you see why this is the ultimate version of cottage cheese chips.
What Makes This Version Stand Out
- Flavor: The combination of Parmesan and garlic powder creates a savory depth that transforms a simple snack into a gourmet experience.
- Texture: The almond flour binds the cheese into a firm, yet airy structure that crisps beautifully without becoming brittle.
- Ingredient Quality: Using high‑quality, fresh cheeses elevates the overall taste profile, making each chip a flavor explosion.
- Ease of Preparation: The recipe requires minimal prep time and no special equipment, making it accessible for any kitchen.
- Make‑Ahead Potential: Once baked, the chips keep crisp for days when stored properly, allowing you to prepare in bulk.
- Health Conscious: Low in carbs, high in protein, and no hidden sugars—perfect for anyone watching their macros.
- Crowd Reaction: Guests will be impressed by the crunch and the subtle, sophisticated seasoning that feels like a snack you’d find at a high‑end café.
- Versatility: Swap almond flour for coconut or chickpea flour to change the flavor profile and accommodate dietary needs.
Alright, let’s break down exactly what goes into this masterpiece. The next section will guide you through the ingredients, their roles, and some clever swaps you can try.
Inside the Ingredient List
The Flavor Base
Cottage cheese is the star of this snack, providing a creamy foundation that holds everything together. It’s the moisture that, when blended with almond flour, creates a dough that can be shaped into thin, uniform sheets. Skipping it would mean losing the signature dairy tang that makes these chips so distinctive. If you’re looking for a lower‑fat version, opt for a reduced‑fat cottage cheese; the texture will be slightly lighter but still delicious.
Parmesan cheese adds a sharp, nutty flavor that balances the mildness of the cottage cheese. Its high protein content also contributes to the crispness of the chips. You can substitute it with Pecorino Romano for a saltier, tangier twist, but be sure to reduce the added salt to avoid an overly salty finish.
The Texture Crew
Almond flour is the binding agent that gives the chips their structural integrity. It absorbs excess moisture from the cottage cheese, allowing the mixture to hold together during baking. If you’re allergic to nuts, try oat flour or a gluten‑free all‑purpose blend; the result will still be crisp but with a slightly different flavor profile.
Olive oil is brushed on top before baking, creating a glossy finish and a subtle fruity aroma. It also helps the chips brown evenly and develop a satisfying crunch. A light drizzle of extra‑virgin olive oil is all you need; too much can make the chips greasy.
The Unexpected Star
Garlic powder and onion powder might seem like standard pantry staples, but they’re the unsung heroes that elevate the flavor to restaurant quality. Garlic powder adds a deep, savory undertone, while onion powder provides a gentle sweetness that balances the richness of the cheeses. If you prefer a fresh flavor, you can use minced garlic and finely chopped onions instead; just be mindful that the moisture content will increase.
Paprika gives a mild smokiness and a pop of color that makes the chips visually appealing. It also adds a subtle heat that complements the black pepper. For a spicy kick, swap paprika for smoked paprika or add a pinch of cayenne pepper.
The Final Flourish
Salt is essential for enhancing every other flavor, but it’s best to add it sparingly. Too much salt can overpower the delicate balance of cheese and herbs. If you’re watching sodium, use a low‑sodium Parmesan or reduce the added salt to 1/4 teaspoon.
Black pepper adds a touch of heat and complexity, giving the chips a subtle bite that lingers on the palate. A pinch of freshly ground pepper is preferable to pre‑ground for a fresher, brighter flavor. If you’re a fan of extra heat, consider adding a dash of red pepper flakes.
Everything's prepped? Good. Let's get into the real action.
The Method — Step by Step
- Step 1: Preheat your oven to 375°F (190°C) and line a baking sheet with parchment paper. This ensures the chips won’t stick and makes cleanup a breeze. While the oven warms, place the cottage cheese in a fine mesh strainer to drain excess liquid; this step is crucial for achieving crispness. Let it sit for 5 minutes, allowing the moisture to escape.
- Step 2: Transfer the drained cottage cheese into a blender or food processor. Add the Parmesan cheese, almond flour, garlic powder, onion powder, salt, paprika, black pepper, and olive oil. Blend until the mixture forms a smooth, cohesive dough. If the dough feels too dry, add a splash of water; if too wet, add a bit more almond flour.
- Step 3: On a lightly floured surface, roll the dough out to a thickness of about 1/8 inch. The thinner you roll, the crisper the chips will be. For uniformity, use a pizza cutter or sharp knife to cut the dough into even squares or rectangles. The key is consistency; uneven pieces will bake at different rates.
- Step 4: Arrange the cut pieces on the prepared baking sheet, leaving a small gap between each chip. This spacing allows heat to circulate and ensures even crisping. Brush the tops lightly with olive oil to promote browning and add a glossy finish. If you prefer a richer flavor, drizzle a tiny bit more oil on top.
- Step 5: Bake for 20-25 minutes, flipping each chip halfway through. The edges should begin to pull away from the parchment, and the surface should turn a golden amber. Keep an eye on the chips; ovens vary, and you don’t want them to burn.
- Step 6: Once baked, remove the chips from the oven and let them cool on a wire rack for 5 minutes. The residual heat will finish crisping them to perfection. If you’re in a hurry, you can transfer them to a clean kitchen towel to absorb excess oil.
- Step 7: Taste one chip to check seasoning. If it needs a touch more salt or pepper, sprinkle a pinch over the warm chips. The heat will help the spices adhere better.
- Step 8: Serve immediately for maximum crunch, or store in an airtight container at room temperature for up to 2 days. For longer storage, keep them in the fridge and reheat in the oven at 350°F for 5 minutes before serving.
That's it — you did it. But hold on, I've got a few more tricks that'll take this to another level. These insider tips will help you perfect your chips and customize them to your taste.
Insider Tricks for Flawless Results
The Temperature Rule Nobody Follows
Many cooks overheat the oven, causing the chips to brown too quickly on the outside while staying soft inside. I’ve learned that setting the oven to 375°F (190°C) is the sweet spot. If your oven runs hot, reduce the temperature by 25°F. This small tweak can make the difference between a crunchy snack and a soggy mess.
Why Your Nose Knows Best
Your sense of smell is a reliable guide to doneness. As the chips bake, they’ll emit a warm, nutty aroma that signals they're nearly ready. When the scent becomes more pronounced and the edges start pulling away, it’s time to flip them. Trust your nose, and you’ll avoid the dreaded burnt chip.
The 5-Minute Rest That Changes Everything
After baking, let the chips rest on a wire rack for five minutes before serving. The residual heat will continue to crisp the surface, while the air circulation prevents steam from forming. A friend once tried to serve them immediately, and they were chewy like a bread roll. The rest step turned them into perfect, airy crunchers.
The Secret of Even Thickness
Rolling the dough to an even 1/8 inch thickness is key to uniform baking. Use a ruler or a kitchen scale to measure thickness if you’re meticulous. If some chips are thicker, they’ll bake slower and might stay soft. Even thickness ensures every chip is a bite‑size, perfectly crisp delight.
The Magic of Brushing Oil
Brushing a thin layer of olive oil before baking not only adds flavor but also creates a protective barrier that keeps the cheese from drying out too quickly. If you prefer a lower‑fat version, use a light spray of olive oil instead of brushing. This keeps the chips crisp while cutting down on calories.
Creative Twists and Variations
This recipe is a playground. Here are some of my favorite ways to switch things up:
Smoky Chip
Swap regular paprika for smoked paprika and add a pinch of chipotle powder. The result is a chip with a deep, smoky flavor that pairs wonderfully with a creamy dip.
Herb Garden
Incorporate fresh chopped herbs like parsley, basil, or dill into the dough. The herbs add a burst of freshness that brightens the savory base.
Spicy Jalapeño
Add finely chopped jalapeño or a dash of cayenne pepper for a fiery kick. This variation is perfect for those who love a spicy snack that still feels comforting.
Vegan Version
Use a dairy‑free cottage cheese alternative and nutritional yeast instead of Parmesan. The result is a vegan-friendly chip that still delivers a savory, cheesy flavor.
Crispy Breakfast Topping
Sprinkle the chips over scrambled eggs or a breakfast bowl for a crunchy, protein‑packed twist. They add texture and a savory note that elevates any morning meal.
Savory Snack Plate
Serve the chips alongside a selection of dips like hummus, tzatziki, or a spicy yogurt sauce. The variety turns a simple snack into a full-featured appetizer spread.
Storing and Bringing It Back to Life
Fridge Storage
Place the cooled chips in an airtight container at room temperature for up to 2 days. The crispness will hold, but the chips may soften slightly if left too long. To maintain crunch, store them on a paper towel to absorb moisture.
Freezer Friendly
For longer storage, freeze the chips in a single layer on a baking sheet, then transfer them to a freezer bag once frozen. They’ll keep for up to 3 months. When ready to eat, pop them in the oven at 350°F for 5 minutes to revive the crunch.
Best Reheating Method
Reheat in a preheated oven at 350°F (175°C) for 3–5 minutes, or until the chips are crisp again. Avoid microwaving, as it will make them chewy. Adding a tiny splash of water before reheating can help steam them back to perfection.