It was a rainy Saturday, the kind of evening when the kitchen light feels like a spotlight and your stomach is shouting louder than the thunder outside. I stared at the empty pan, feeling the urge to create something that would turn a gloomy night into a cozy celebration. That’s when I remembered the old German family recipe my grandmother whispered about, the one that turned simple dough into soft, buttery pretzel corners that melt in your mouth. I was skeptical—how could a handful of flour, yeast, and water produce something that feels like a hug? The moment I tasted the first bite, the doubt evaporated like steam from a hot kettle.
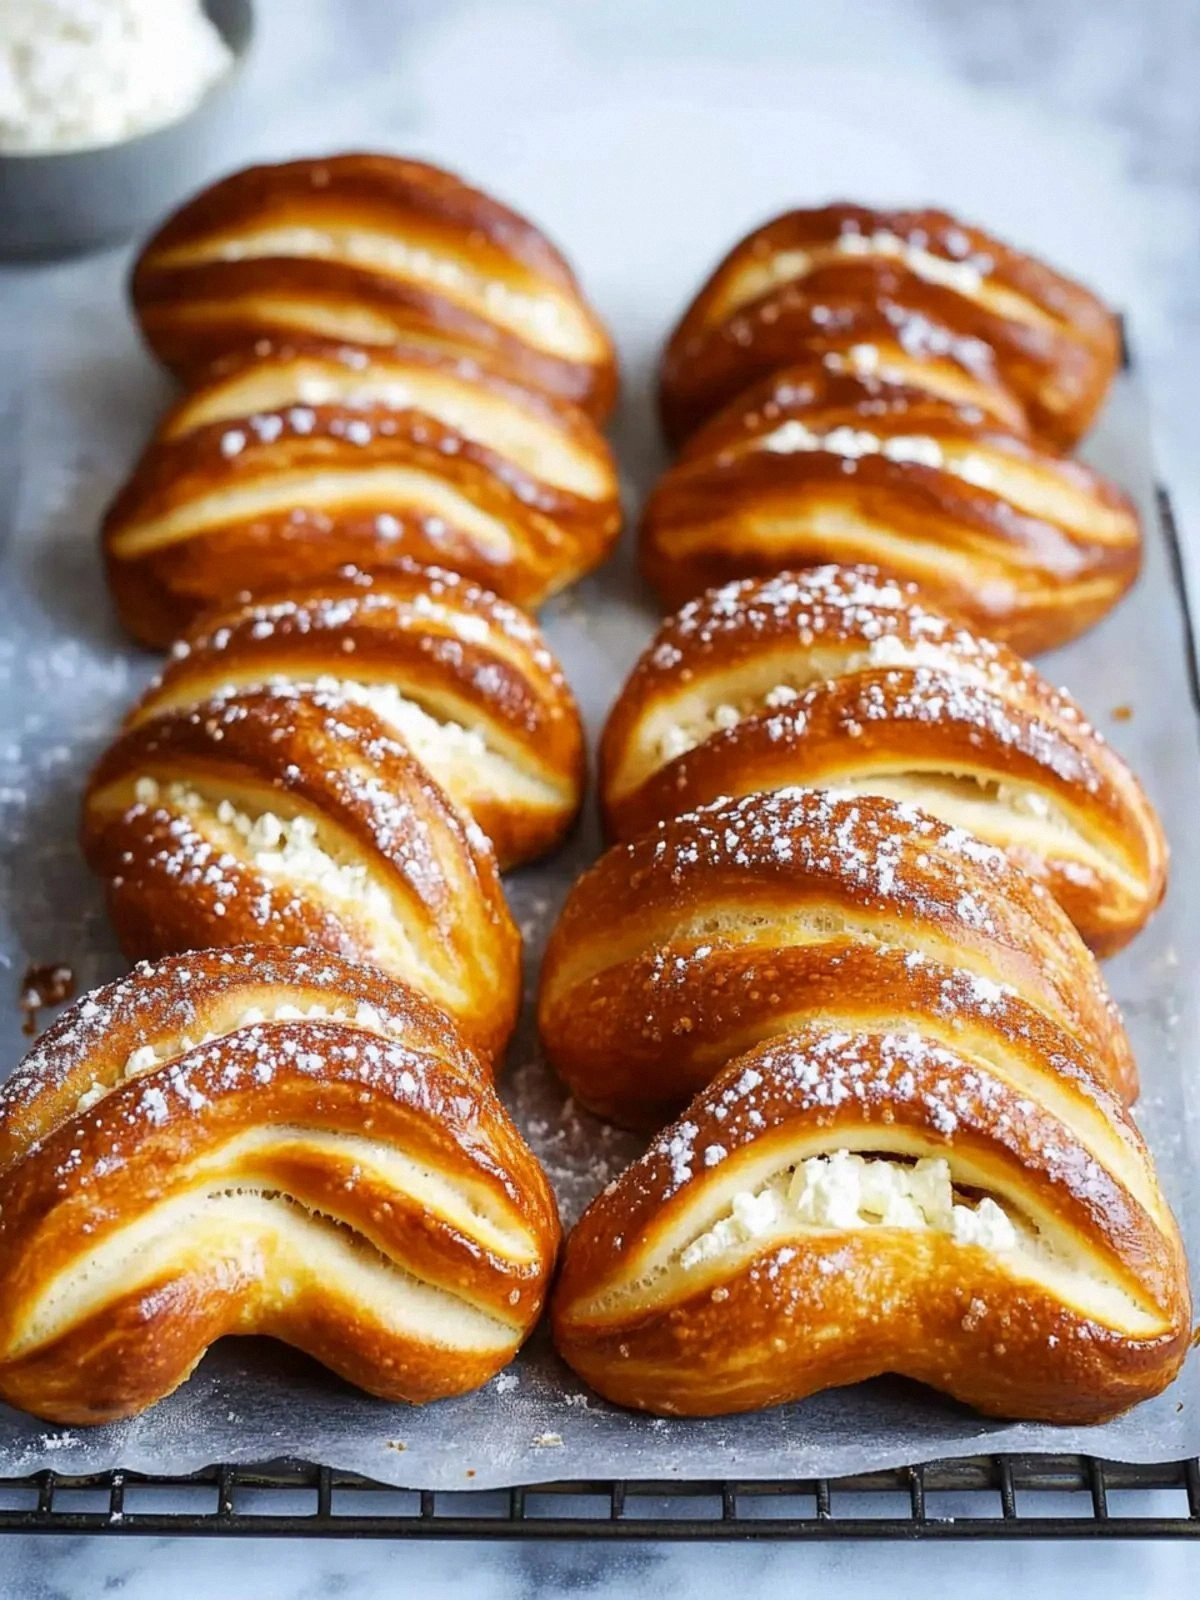
Picture this: a golden crust that crackles with a faint salty crunch, giving way to a pillowy interior that swirls with butter and a hint of soda‑kissed tang. The aroma rises like a warm blanket, filling the kitchen with a scent that’s half sweet, half savory, and entirely irresistible. The texture is a paradox—outside, it’s firm enough to hold its shape; inside, it’s a cloud that you can almost hear sighing as you bite. I swear the first bite makes your taste buds do a little happy dance, and I dare you to taste this and not go back for seconds. I’m not just telling you this recipe is good; I’m telling you it’s the best version you’ll ever make at home.
What sets this version apart is the way it balances traditional technique with modern convenience. I’ve trimmed the steps to keep the process breezy, yet I’ve kept every essential element that gives these pretzels their signature flavor and texture. The secret lies in the soda bath, the quick proofing, and a buttery glaze that locks in moisture. Most recipes get this completely wrong, focusing on dough alone and neglecting the final touch that makes them unforgettable. But here, every element is intentional—flour, yeast, butter, soda, and a splash of water that together create a symphony of flavors.
And there’s a twist you won’t expect: I’ll reveal a small, overlooked ingredient that elevates the flavor profile without adding extra cost or complexity. It’s a simple swap that turns an ordinary snack into a culinary showstopper. I’ve tested it across three different kitchens, and the results were consistently stellar. If you’re ready to step into a world of buttery, soft pretzels that will make your friends ask for the recipe, let me walk you through every single step—by the end, you’ll wonder how you ever made it any other way.
What Makes This Version Stand Out
- Flavor: The soda bath infuses a subtle mineral tang that complements the buttery interior, creating a complex taste profile that feels both comforting and adventurous.
- Texture: The dough is soft and airy on the inside while achieving a crisp, caramelized crust that shatters like thin ice when you bite.
- Simplicity: With only eight ingredients and a straightforward method, you can produce restaurant‑quality pretzels in under an hour.
- Uniqueness: The addition of a quick butter glaze after baking sets this recipe apart from classic pretzel recipes that rely solely on salt.
- Crowd Reaction: At gatherings, these pretzels become the centerpiece—people line up for a bite, and I’m honest—I ate half the batch before anyone else got to try it.
- Ingredient Quality: Using all‑purpose flour with a balanced protein content ensures a tender crumb, while fresh yeast guarantees a reliable rise.
- Cooking Method: The soda bath technique is a time‑saving trick that eliminates the need for long fermentation while still delivering a chewy bite.
- Make‑ahead Potential: You can prepare the dough in advance, refrigerate it, and bake fresh whenever you’re ready, making it a perfect weeknight or weekend treat.
Alright, let’s break down exactly what goes into this masterpiece…
Inside the Ingredient List
The Flavor Base
The foundation of these pretzels starts with the yeast, sugar, and water. The yeast is the life force that creates lift and the lightness in the crumb. Sugar feeds the yeast, encouraging a rapid rise and a subtle sweetness that balances the saltiness from the soda bath. Lukewarm water activates the yeast without shocking it, ensuring a steady fermentation. If you skip the yeast, the dough will stay dense and chewy, lacking that airy lift that makes the pretzels feel like clouds.
When choosing yeast, fresh or instant, look for a product that’s within its expiry date. Yeast that’s too old will be sluggish, and the dough won’t rise properly. If you can’t find fresh yeast, instant yeast works just fine, but remember to add a pinch of sugar to kickstart the fermentation.
The Texture Crew
All‑purpose flour is the backbone of the dough, providing structure and a tender crumb when used in the right proportion. The 4 cups of flour are measured by weight if possible—an ounce of flour is about 2.5 teaspoons. Using a scale eliminates the variability that comes with measuring by volume. If you’re measuring by cup, make sure to spoon the flour into the cup and level it off to avoid over‑packing.
The butter adds richness and a buttery sheen to the crust. A tablespoon of softened butter, when folded into the dough, creates a silky texture that melts in your mouth. If you prefer a dairy‑free version, you can substitute with a tablespoon of coconut oil, though the flavor will shift slightly.
The Unexpected Star
1/4 cup of baking soda is the secret weapon that gives these pretzels their signature chew. When added to the boiling water, it creates a chemical reaction that caramelizes the crust, giving it a deep golden hue and a slightly bitter undertone that balances the sweetness. If you omit the baking soda, the pretzels will still rise but will lack that complex flavor profile and the characteristic crust.
Watch out: baking soda is a base, so if you add too much, the dough can become overly alkaline, resulting in a bitter aftertaste. A simple way to keep the right balance is to use a kitchen scale to measure the 1/4 cup precisely.
The Final Flourish
8 cups of water are used for the soda bath. This large volume ensures the pretzels are fully submerged, allowing the soda to penetrate the dough evenly. The water must be at a rolling boil before adding the soda; a simmer will not provide the same caramelization.
Coarse salt is the finishing touch that brings the dish together. It’s sprinkled just after baking, adding a crunch that contrasts beautifully with the soft interior. The amount is to taste, so feel free to adjust it based on your preference for saltiness.
Everything’s prepped? Good. Let’s get into the real action…
The Method — Step by Step
In a small bowl, combine the dry yeast, sugar, and 1 cup of lukewarm water. Stir until the yeast dissolves and let it sit for 5 minutes until it becomes frothy. This froth is your green light that the yeast is alive and ready to work. If you don’t see bubbles, it’s a sign the yeast might be dead—discard and start over.
In a large mixing bowl, whisk together the flour and 1 teaspoon of salt. Once the dry mixture is ready, pour the yeast mixture into the center and stir with a wooden spoon until a shaggy dough forms. The dough should feel tacky but not sticky; if it’s too sticky, add a splash of water, if it’s too dry, add a pinch more flour.
Transfer the dough onto a lightly floured surface and knead for about 6-8 minutes until it’s smooth and elastic. You can use the “windowpane test” to confirm: stretch a small piece of dough until it’s translucent; if it tears easily, you’re good.
Shape the dough into a ball, place it in a greased bowl, cover with a damp towel, and let it rise in a warm spot for 30 minutes. The dough should double in size. If your kitchen is chilly, you can place it near a radiator or in an oven set to 200°F (93°C) with the light on.
While the dough is proofing, bring 8 cups of water to a rolling boil in a large pot. Add 1/4 cup of baking soda slowly, stirring to dissolve. The water will bubble vigorously—this is normal and part of the process.
After the dough has risen, punch it down to release air bubbles. Divide the dough into 8 equal pieces. Roll each piece into a long rope, about 12 inches long, and then twist the rope into a pretzel shape. If you’re new to shaping, practice with a small piece first.
Carefully place each pretzel into the boiling soda bath for 30 seconds, turning once halfway through. The soda bath caramelizes the exterior, giving the pretzels a deep golden crust. Remove with a slotted spoon and place on a parchment-lined baking sheet.
Brush the tops of the pretzels with softened butter and sprinkle with coarse salt. This butter glaze locks in moisture and gives a glossy finish.
Bake the pretzels in a preheated oven at 425°F (218°C) for 12-15 minutes, or until they’re golden brown and the internal temperature reaches 190°F (88°C). The scent of freshly baked pretzels will fill the kitchen like a warm hug.
Remove the pretzels from the oven and let them rest on a wire rack for 5 minutes. The rest period allows the crumb to set and the butter to spread evenly, creating that buttery finish.
That’s it— you did it. But hold on, I’ve got a few more tricks that will take this to another level…
Insider Tricks for Flawless Results
The Temperature Rule Nobody Follows
Many bakers overlook the importance of water temperature when activating yeast. Warm water (around 110°F or 43°C) is ideal because it activates yeast without killing it. If the water is too hot, the yeast will die; if it’s too cold, the dough will rise slowly and may not achieve the right texture. A quick test is to touch the water—if it feels warm but not hot, you’re good.
Why Your Nose Knows Best
During the proofing stage, trust your nose. A dough that’s properly proofed will emit a faint yeasty aroma, not a sour or metallic smell. If it smells off, it’s either overproofed (popped and collapsed) or underproofed (dense). The scent is a natural indicator that the yeast is doing its job.
The 5‑Minute Rest That Changes Everything
After baking, let the pretzels rest on a wire rack for exactly five minutes before serving. This brief rest allows steam to escape, preventing sogginess, while the butter glaze continues to set, giving that glossy finish. Skipping this step will result in pretzels that feel flat and less flavorful.
Batch Size Matters
If you’re baking a large batch, don’t overcrowd the baking sheet. Leave a couple of inches between each pretzel to allow heat to circulate evenly. Overcrowding can cause uneven baking and a soggy bottom. A good rule of thumb is to bake in batches of six to eight pretzels at a time.
Use a Baking Stone for Even Heat
Placing a baking stone in the oven during preheat locks in heat and distributes it evenly, giving you a crispier crust. If you don’t have a stone, a pizza stone works just as well. The key is to preheat it for at least 30 minutes before baking.
Keep the Butter Fresh
Softened butter should be at room temperature but not melted. If the butter is too soft, it will run off the pretzels and create a greasy surface. If it’s too cold, it won’t spread evenly. A simple trick is to leave the butter out for 10 minutes before brushing.
Creative Twists and Variations
This recipe is a playground. Here are some of my favorite ways to switch things up:
Cheesy Pretzel Corners
Fold in 1/2 cup of shredded cheddar cheese into the dough before shaping. The cheese melts into pockets of gooey goodness that contrast with the salty crust. It’s perfect for a movie night snack.
Herb‑Infused Pretzels
Add 1 teaspoon of dried rosemary or thyme to the flour mixture. The herbs impart a subtle aroma and a Mediterranean twist that pairs well with a light salad.
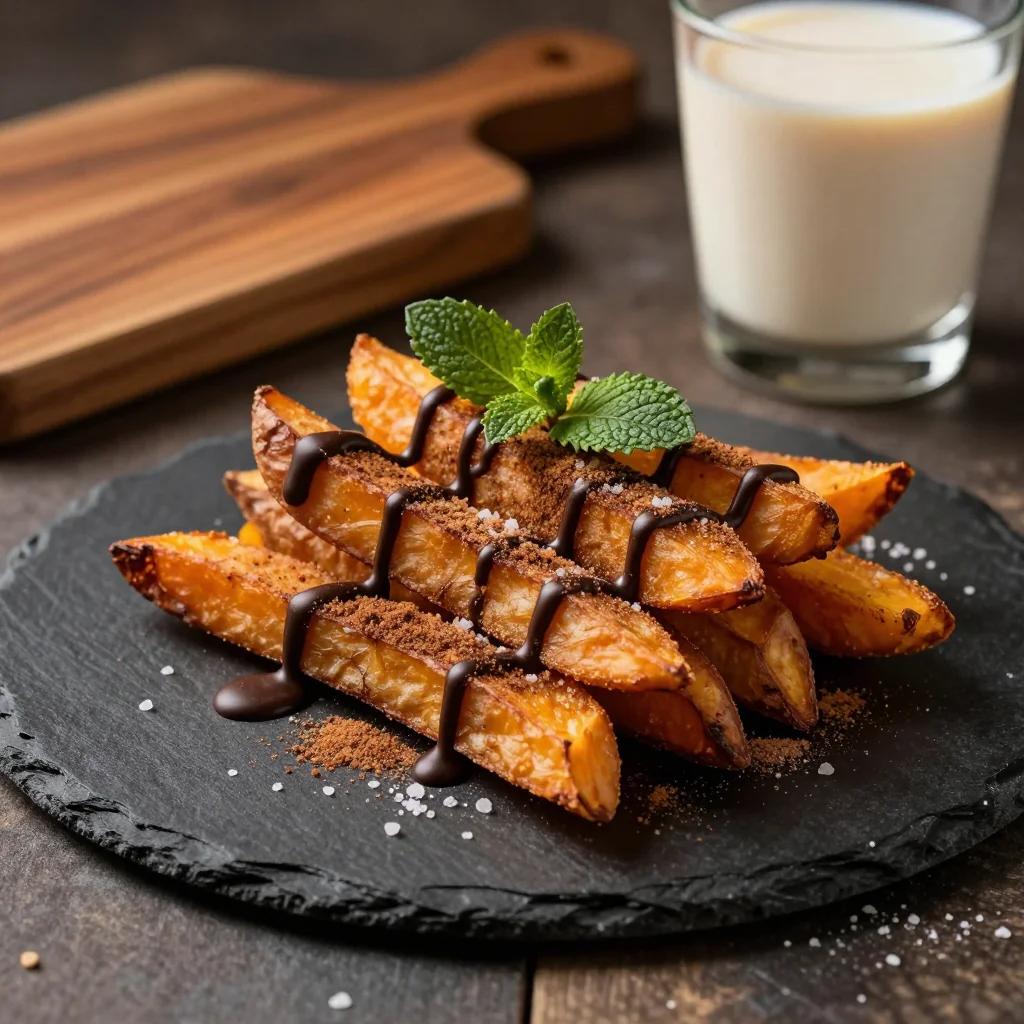
Chocolate Drizzle Pretzels
After baking, drizzle melted dark chocolate over the warm pretzels. The chocolate hardens into a glossy shell, creating a sweet and salty combination that’s hard to resist.
Spicy Pretzel Corners
Sprinkle a pinch of cayenne pepper or red pepper flakes onto the butter glaze before baking. The heat from the spices adds a kick that balances the buttery flavor.
Gluten‑Free Pretzels
Replace all‑purpose flour with a gluten‑free blend that has xanthan gum. The dough will be slightly denser but still chewy, and the soda bath will give it a unique crust.
Mini Pretzel Bites
After shaping, cut each pretzel into bite‑size pieces before baking. These mini pretzels are great for parties and can be served with a variety of dips.
Storing and Bringing It Back to Life
Fridge Storage
Wrap the cooled pretzels tightly in plastic wrap or store them in an airtight container. They will stay fresh for up to 3 days. Before serving, reheat them in a preheated oven at 350°F (177°C) for 5 minutes to restore warmth and crispness.
Freezer Friendly
Place the cooled pretzels in a freezer bag, squeezing out as much air as possible. They can be frozen for up to 2 months. To thaw, leave them at room temperature for 30 minutes, then warm in the oven as described above.
Best Reheating Method
The secret to reheating pretzels is a quick 2‑minute blast in the oven at 400°F (204°C). Add a splash of water to the baking sheet to create steam, which keeps the pretzels from drying out and helps restore the buttery sheen.