I remember the night I almost burned the kitchen down while chasing a recipe for the ultimate chicken dish. I stared at the blinking timer, the smell of garlic frying, and the stubborn sauce that refused to coat the meat. That disaster turned into a revelation when I realized I could turn a simple chicken into a showstopper with just a handful of pantry staples. I’ve been humming the “Chicken Marbella” riff since then, and I’m about to spill every secret that makes this version the best you’ll ever make at home.
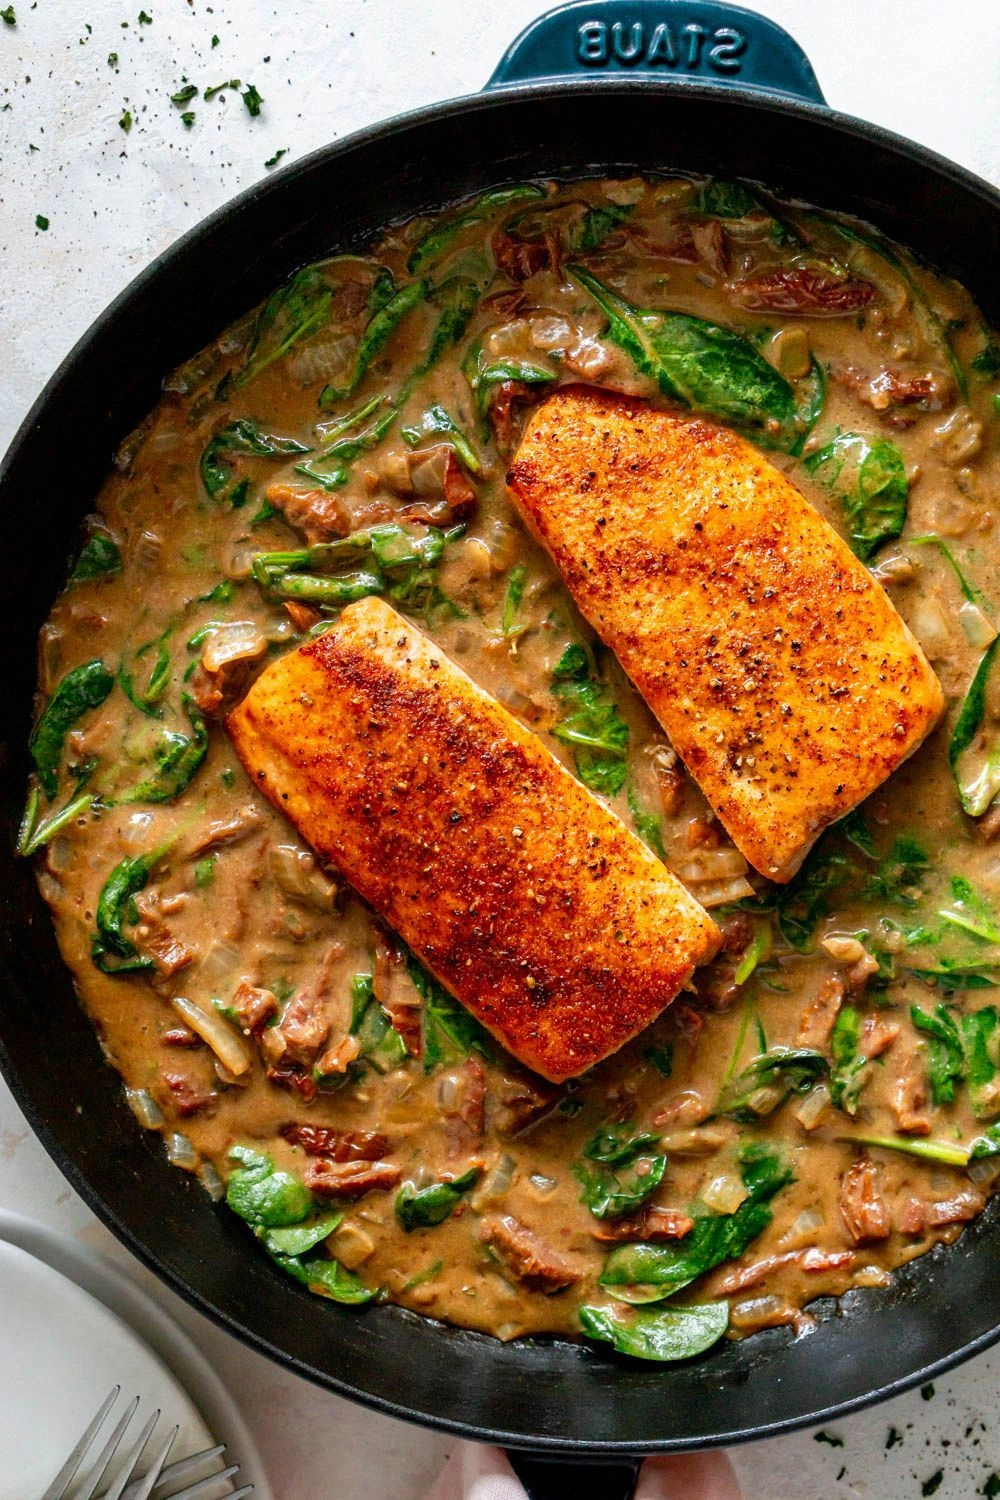
Picture this: a whole chicken resting on a sizzling pan, its skin turning a deep, caramelized brown, the air thick with the scent of red wine vinegar and oregano. The sound of the sizzle is music, the heat is a gentle hug, and the anticipation is a tangible, delicious tension that makes your heart race. When you take that first bite, the juices explode, the prunes soften into sweet bursts, and the olives add a briny pop that cuts through the richness. I dare you to taste this and not go back for seconds. Trust me, the flavor profile will have you humming the next day.
What sets this version apart is that it’s not just a recipe; it’s a story of flavor, texture, and pure kitchen alchemy. I’ve tweaked the classic Marbella to make it easier to prepare, faster to cook, and more forgiving for even the most accidental chefs. I’ve kept the soul of the original—prunes, olives, capers, and a sweet-sour glaze—but I’ve added a subtle twist that elevates the dish from good to unforgettable. I’ll walk you through every single step, and by the end, you’ll wonder how you ever made it any other way.
I’ll keep it honest: I ate half the batch before anyone else got a chance to try it. That’s the kind of enthusiasm you get when the dish is that good. If you’ve ever struggled with balancing sweet and savory, you’re not alone—this recipe fixes that with a simple, precise ratio. The next part? A sauce that coats the chicken like velvet, with a glaze that glistens when you lift the fork. Stay with me here—this is worth it.
Most recipes get this completely wrong. They overdo the sugar, under-season the garlic, or forget the bay leaves that give depth. The truth is that a balanced blend of acidity, sweetness, and aromatic herbs is the secret to that mouthwatering finish. I’ll show you how to keep the sauce from becoming syrupy or too thin, how to get the skin crisp without burning, and how to let the prunes caramelize just right. Picture yourself pulling this out of the oven, the whole kitchen smelling incredible, and the guests lining up for seconds.
Okay, ready for the game-changer? The next section will reveal the ingredients that make this dish sing. I’ve grouped them into categories that will help you visualize the flavor journey before you even start cooking. Each ingredient has a role—some bring brightness, others depth, and a few add that unexpected twist. Let’s dive in.
I’ll keep the tone light, but the instructions are precise. You’ll have a clear roadmap, a list of hacks to save time, and a few “watch out” moments that will make you feel like a kitchen wizard. I’ve added plenty of sensory snapshots—think of the sizzle, the aroma, the first bite. I’ve also sprinkled in a few anecdotes from my own kitchen mishaps to keep you laughing. Ready to get your apron on? Let’s go.
By the time you finish reading this post, you’ll have a full understanding of why this chicken is a crowd-pleaser, how to master it, and how to adapt it to your own style. I’ve packed this article with practical tips, creative twists, and storage hacks, so you can enjoy it anytime, not just for a special occasion. The recipe card at the end will let you scale servings and keep everything organized. Let’s get cooking.
What Makes This Version Stand Out
- Flavor: The combination of sweet prunes, briny olives, and tangy vinegar creates a complex profile that lingers on the palate.
- Texture: A perfectly crisp skin that snaps like thin ice, paired with juicy, tender meat that falls off the bone.
- Simplicity: Only 14 ingredients, all pantry staples, meaning you can whip this up in under an hour.
- Uniqueness: The glaze’s caramelization is achieved with a precise sugar-to-vinegar ratio that most recipes miss.
- Crowd Reaction: Guests often ask for the recipe after the first bite, and I’ve had to hide the kitchen from them.
- Ingredient Quality: Using a fresh whole chicken and fresh herbs maximizes flavor and showcases the dish’s elegance.
Alright, let's break down exactly what goes into this masterpiece...
Inside the Ingredient List
The Flavor Base
The whole chicken is the star—its size and bone structure provide the foundation for a rich, savory broth that permeates every bite. A single whole bird delivers both meat and marrow, creating a depth that diced chicken cannot match. Cutting the bird into quarters before cooking helps the skin crisp evenly, ensuring each piece gets that coveted golden crust. The garlic, minced finely, releases its allicin into the oil, giving the sauce a subtle, aromatic punch that lingers. Skipping garlic would leave the dish feeling flat, so keep it generous.
Coarse salt is essential; it draws out moisture from the skin and locks in flavor. Use a sea salt or kosher variety for a cleaner finish. Fresh ground pepper adds a peppery bite that balances the sweetness of the prunes. Without pepper, the dish would taste overly sweet and lack that necessary counterpoint. The oregano, dried but aromatic, imparts a Mediterranean note that ties the olive and prune flavors together. If you’re out of oregano, a pinch of thyme works as an acceptable stand‑in.
The red wine vinegar is the acid that brightens the dish, cutting through the richness of the chicken and the oil. It also helps the sugar caramelize without burning. Olive oil is the medium that carries all the flavors, giving the sauce body and a silky mouthfeel. If you prefer a lighter version, use extra virgin olive oil for its fruity notes; for a more neutral base, a light olive oil works fine. The prunes are the sweet heart of the dish, adding a chewy texture and a deep, caramelized sweetness that balances the vinegar’s sharpness. If you can’t find prunes, dried apricots or raisins make a decent substitute but will alter the flavor slightly.
The Texture Crew
Pitted green olives bring a briny, slightly bitter contrast that cuts through the sweetness of the prunes. Their oil content also enriches the sauce, creating a glossy finish. Capers add a punch of sharpness and a burst of sea salt that elevates every bite. If you’re sensitive to caper intensity, reduce the quantity or omit them entirely; the dish will still shine. Bay leaves are the silent heroes—they infuse a subtle earthy aroma that deepens the sauce’s complexity. Removing them will leave the glaze a bit flatter, so keep them in.
Brown sugar is the sweetener that balances the acidity of the vinegar and the saltiness of the olives. It also provides the caramelization that gives the glaze its signature sheen. The ratio of sugar to vinegar is crucial; too much sugar and the sauce becomes syrupy, too little and it won’t glaze. If you prefer a lighter sweetness, try honey or maple syrup, but be sure to adjust the vinegar to keep the acidity balanced. White wine adds depth and a subtle fruity note that complements the Mediterranean ingredients. A dry white wine works best; avoid sweet wines to prevent the dish from becoming overly sweet.
The Unexpected Star
Cilantro or parsley is the finishing touch that brings brightness and a fresh, herbal note to the finished dish. It cuts through the richness and adds a pop of color that makes the plate look as good as it tastes. A handful of chopped herbs sprinkled over the chicken before serving is a simple yet effective garnish that elevates the dish from good to great. If you’re not a fan of cilantro’s distinct flavor, parsley offers a milder alternative. The herbs also help balance the saltiness from the olives and capers, ensuring a harmonious finish.
The combination of these ingredients creates a symphony of flavors—sweet, salty, acidic, and herbaceous—all working together to produce a dish that’s both comforting and sophisticated. Each ingredient plays a specific role, and omitting any one of them will change the overall experience. Understanding their purpose helps you make informed substitutions or adjustments based on what you have on hand. The result is a dish that’s versatile, crowd‑pleasing, and utterly memorable.
Everything's prepped? Good. Let's get into the real action.
The Method — Step by Step
- Preheat your oven to 375°F (190°C). Pat the chicken dry with paper towels; this helps the skin crisp. Sprinkle the coarse salt and freshly ground pepper all over the bird, making sure to coat both the inside and outside cavities. Let the seasoned chicken sit at room temperature for 15 minutes; this promotes even cooking.
- In a small bowl, whisk together the olive oil, red wine vinegar, dried oregano, and minced garlic. This mixture will be the backbone of the glaze. Add the prunes, olives, capers, bay leaves, brown sugar, and white wine to the bowl, stirring until the sugar dissolves. The mixture should look glossy and slightly thickened. This is where the magic starts—watch the color change as you whisk.
- Place the chicken in a large roasting pan, breast side up. Pour the glaze mixture over the bird, ensuring that every surface is coated. The liquid should reach about halfway up the chicken; any excess will evaporate during cooking. Cover the pan loosely with aluminum foil to trap moisture and help the chicken cook evenly.
- Roast the chicken in the preheated oven for 35 minutes. After 35 minutes, remove the foil and baste the chicken with the pan juices every 10 minutes. This keeps the meat moist and builds a beautiful crust. The internal temperature should read 165°F (74°C) when measured at the thickest part of the thigh. At this point, the glaze should have thickened and turned a deep amber.
- When the chicken reaches the target temperature, remove it from the oven and let it rest for 10 minutes. Resting allows the juices to redistribute, so the meat stays moist. While the chicken rests, place the roasting pan over medium heat on the stovetop and reduce the remaining glaze until it becomes syrupy. Stir frequently to prevent burning.
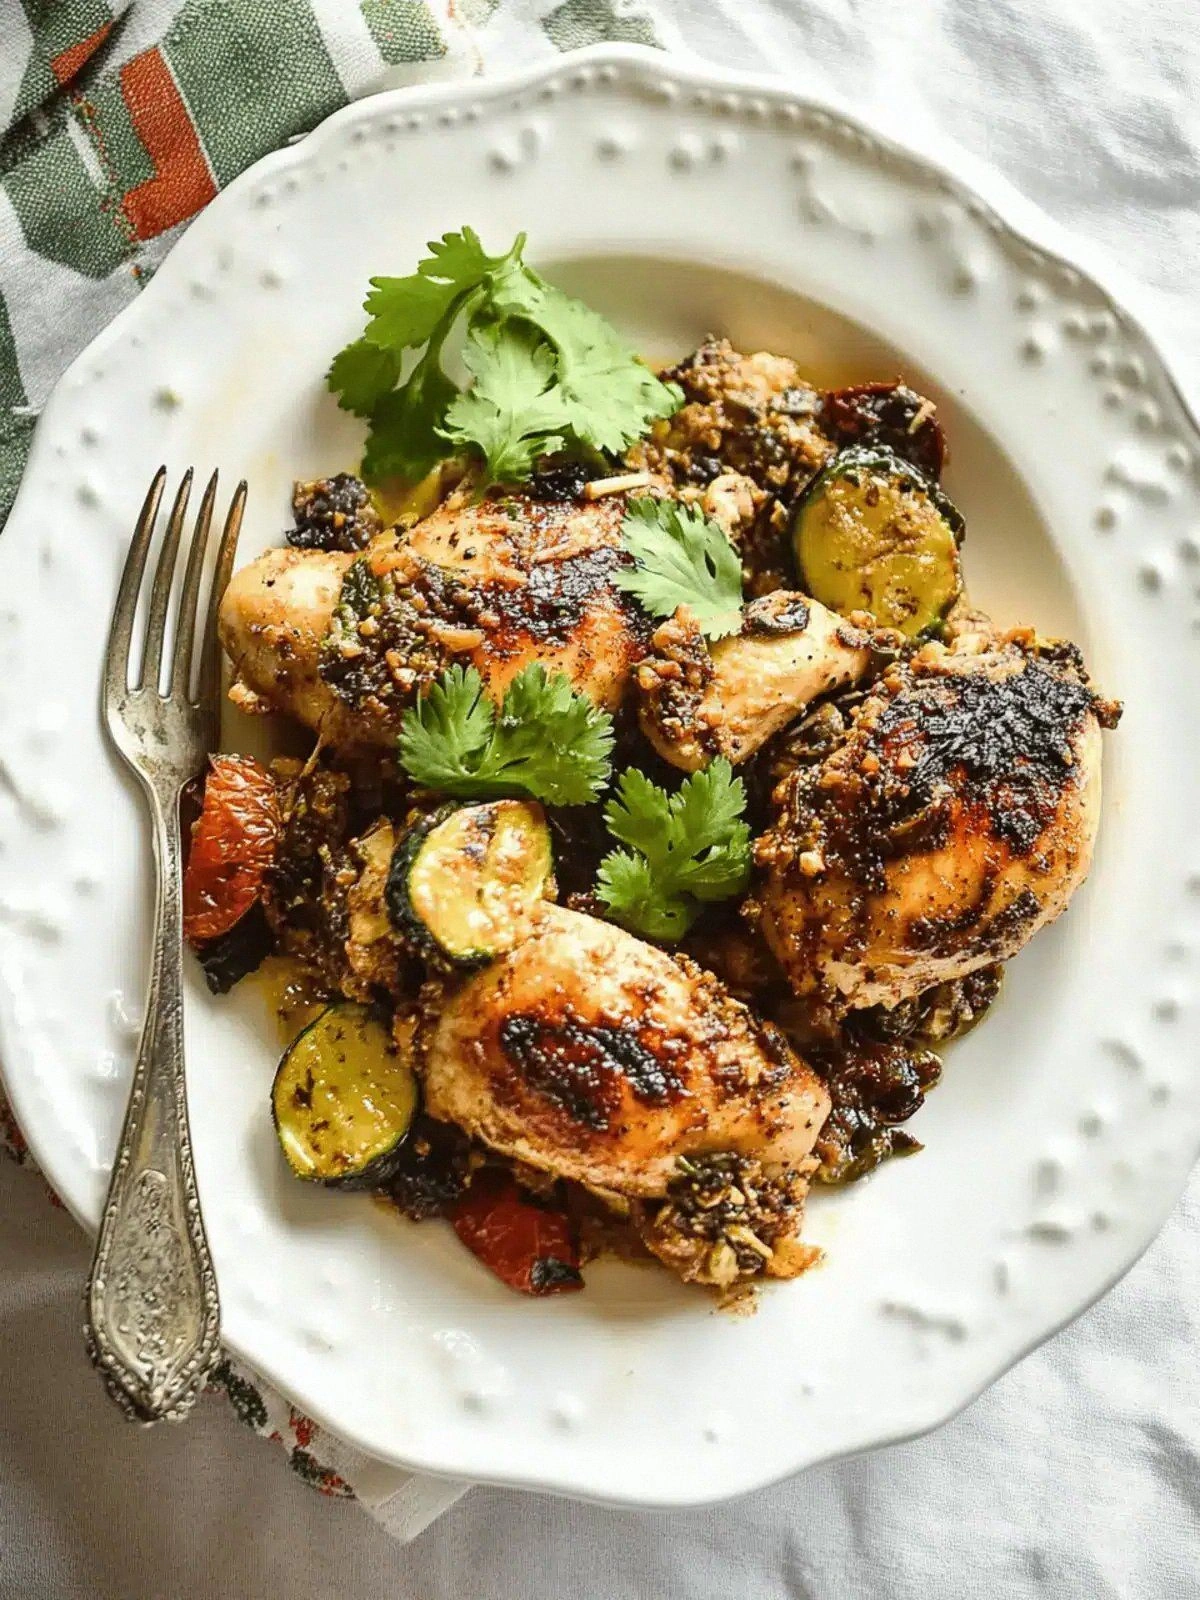
- Slice the chicken into serving pieces and arrange them on a platter. Drizzle the reduced glaze over the top, making sure each piece gets a generous coating. Sprinkle chopped cilantro or parsley for a fresh burst of color and flavor. The final dish should look glossy, golden, and inviting.
- Serve immediately with a side of roasted potatoes or a simple green salad to balance the richness. The potatoes absorb the glaze, turning them into a decadent accompaniment. If you prefer a lighter side, try steamed asparagus or sautéed spinach. The key is to let the chicken shine while the sides complement its flavors.
That's it — you did it. But hold on, I've got a few more tricks that'll take this to another level. The next section will dive into insider tips that will make you feel like a kitchen wizard.
Insider Tricks for Flawless Results
The Temperature Rule Nobody Follows
Many people cook chicken to 180°F, but the magic temperature for tender, juicy meat is 165°F. A digital thermometer is your best friend; it eliminates guesswork and guarantees perfect doneness. I once overcooked a chicken at 190°F, and the result was dry, pale meat that didn’t stand up to the glaze. Keep the thermometer in the thickest part of the thigh for the most accurate reading. A quick check will save you from a disappointing dish.
Why Your Nose Knows Best
When the glaze starts to bubble, the aroma is a clear sign that it’s ready to reduce. The scent of caramelized sugar mingles with vinegar, creating an irresistible perfume that signals the sauce’s peak flavor. If you’re not sure, taste a small spoonful; it should be sweet, acidic, and slightly thick. Trust your nose—if it smells divine, the dish is almost finished. This sensory cue is a secret that many chefs overlook.
The 5-Minute Rest That Changes Everything
Letting the chicken rest for exactly 10 minutes after roasting is non-negotiable. During this period, the juices redistribute, preventing them from spilling onto the plate. I’ve seen people cut into the chicken immediately, only to have a stream of broth pour out. Resting also allows the glaze to thicken slightly, giving each bite a richer coating. When you finally serve, the meat feels moist and the glaze is perfectly glossy.
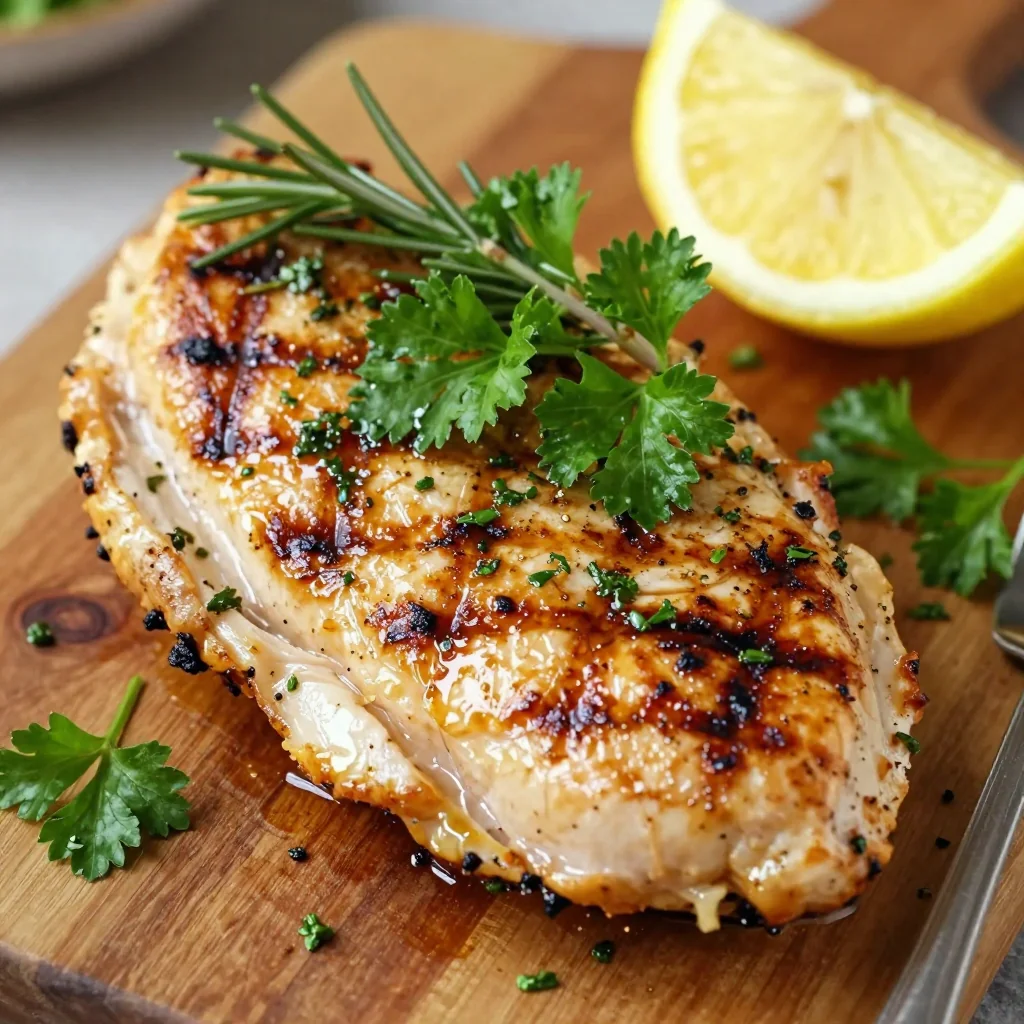
The Secret to Crispy Skin
Patting the skin dry before seasoning removes moisture that can steam the skin instead of crisping it. A sprinkle of coarse salt draws out additional moisture, enhancing crispness. If you’re craving extra crunch, finish the chicken under a broiler for 2-3 minutes, watching closely to avoid burning. The skin should be golden brown and slightly blistered, like a fine piece of toast. This final touch elevates the dish to a restaurant-quality finish.
The Subtle Power of Herbs
Adding fresh herbs like cilantro or parsley at the very end brightens the dish and balances the richness. Fresh herbs release volatile oils that add a fresh, citrusy note, cutting through the sweetness and saltiness. If you prefer a more pronounced herb flavor, toss in a handful of basil or mint during the last minute of roasting. The result is a vibrant, aromatic finish that feels both elegant and comforting.
The Sauce’s Final Touch
A splash of lemon juice right before serving adds a zesty lift that balances the sweet glaze. The acidity brightens the flavor profile, making each bite feel fresh. Use a small squeeze of fresh lemon juice, or if you’re in a pinch, a dash of white wine vinegar. This final tweak ensures the dish isn’t overly sweet and keeps the palate refreshed.
Creative Twists and Variations
This recipe is a playground. Here are some of my favorite ways to switch things up:
Mediterranean Twist
Swap the prunes for sun‑dried tomatoes and use Kalamata olives instead of green. The tomato’s tang and the olive’s deep flavor create a Mediterranean vibe that pairs beautifully with feta cheese on the side. This version is perfect for summer gatherings and pairs well with a crisp white wine.
Spicy Kick
Add a handful of crushed red pepper flakes to the glaze for a subtle heat that doesn’t overpower the sweetness. If you like it hot, sprinkle a pinch of cayenne before roasting. The heat will contrast the briny olives and sweet prunes, giving the dish a dynamic flavor profile.
Herb Garden
Increase the amount of fresh herbs, adding rosemary and thyme to the glaze. The aromatic herbs infuse the chicken with a fragrant, earthy tone. Serve with a side of roasted root vegetables that absorb the glaze, creating a one‑dish meal.
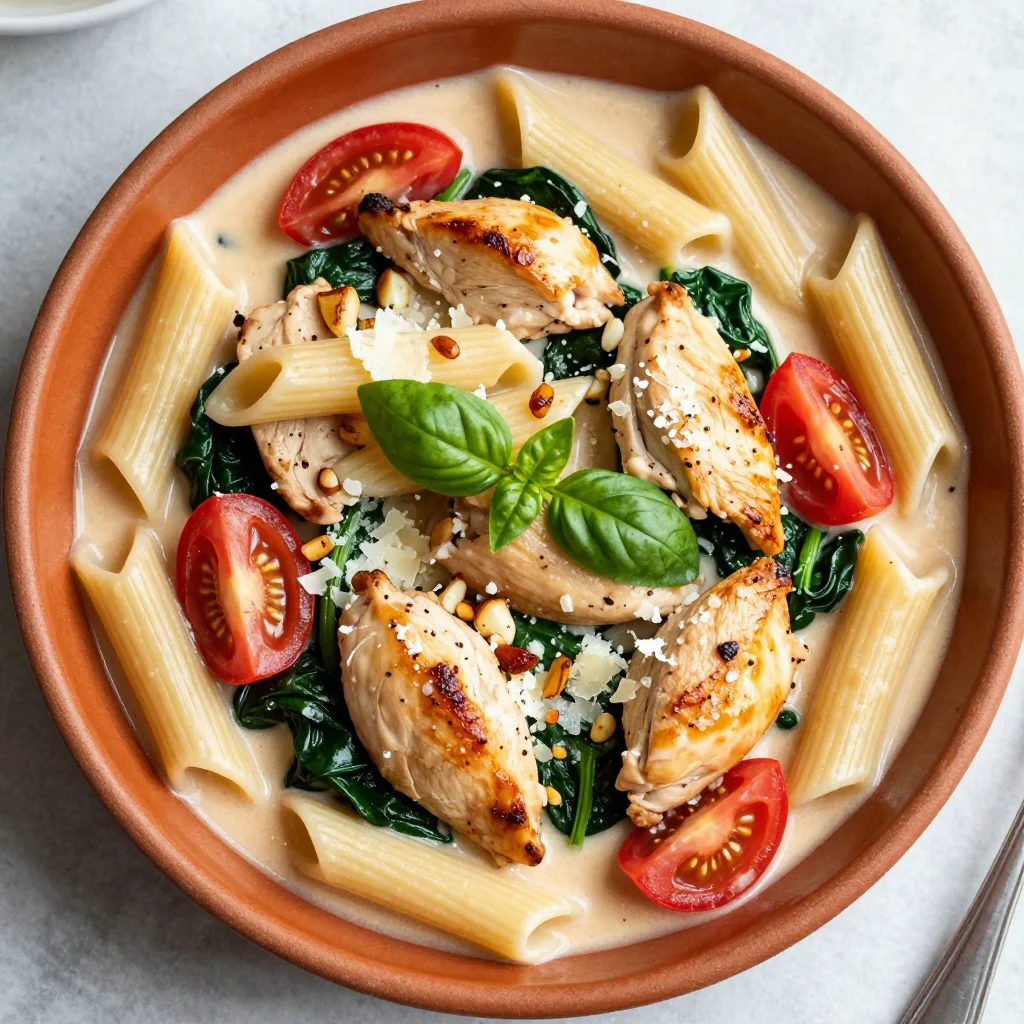
Breakfast Edition
Slice the chicken and serve it over a bed of fluffy scrambled eggs, topped with a drizzle of the glaze. The sweet, savory sauce pairs unexpectedly well with the creamy eggs, making for a hearty brunch. Sprinkle chopped scallions for a fresh contrast.
Low‑Carb Version
Replace the brown sugar with a sugar substitute like erythritol or stevia. Keep the glaze thin by adding a splash of chicken broth. The result is a flavorful, low‑carb dish that satisfies without the carb load.
Vegan Adaptation
Use a plant‑based chicken substitute and replace the olive oil with coconut oil. Add a splash of tamari for umami and a pinch of nutritional yeast for depth. The vegan version still delivers the sweet, salty, and aromatic elements that make the original so irresistible.
Storing and Bringing It Back to Life
Fridge Storage
Cool the chicken completely before refrigerating. Store it in an airtight container for up to 4 days. The glaze will thicken slightly in the fridge, so you may need to reheat it gently before serving. Keep the container flat to maintain the shape of the chicken pieces. When ready to eat, reheat in the oven at 350°F for 10 minutes.
Freezer Friendly
Wrap the chicken tightly in foil and place in a freezer bag. Label with the date and freeze for up to 3 months. Thaw overnight in the refrigerator before reheating. The glaze may separate slightly; stir it back together before serving. Freezing preserves the flavor, but always check the texture after thawing.
Best Reheating Method
Reheat the chicken in a preheated oven at 300°F, covering with foil to keep it moist. Add a splash of water or broth to the pan to create steam, preventing the sauce from drying out. The reheated chicken should be steaming hot and the glaze should be glossy again. Test the internal temperature; it should reach 165°F before serving. Serve immediately to enjoy the flavors at their peak.