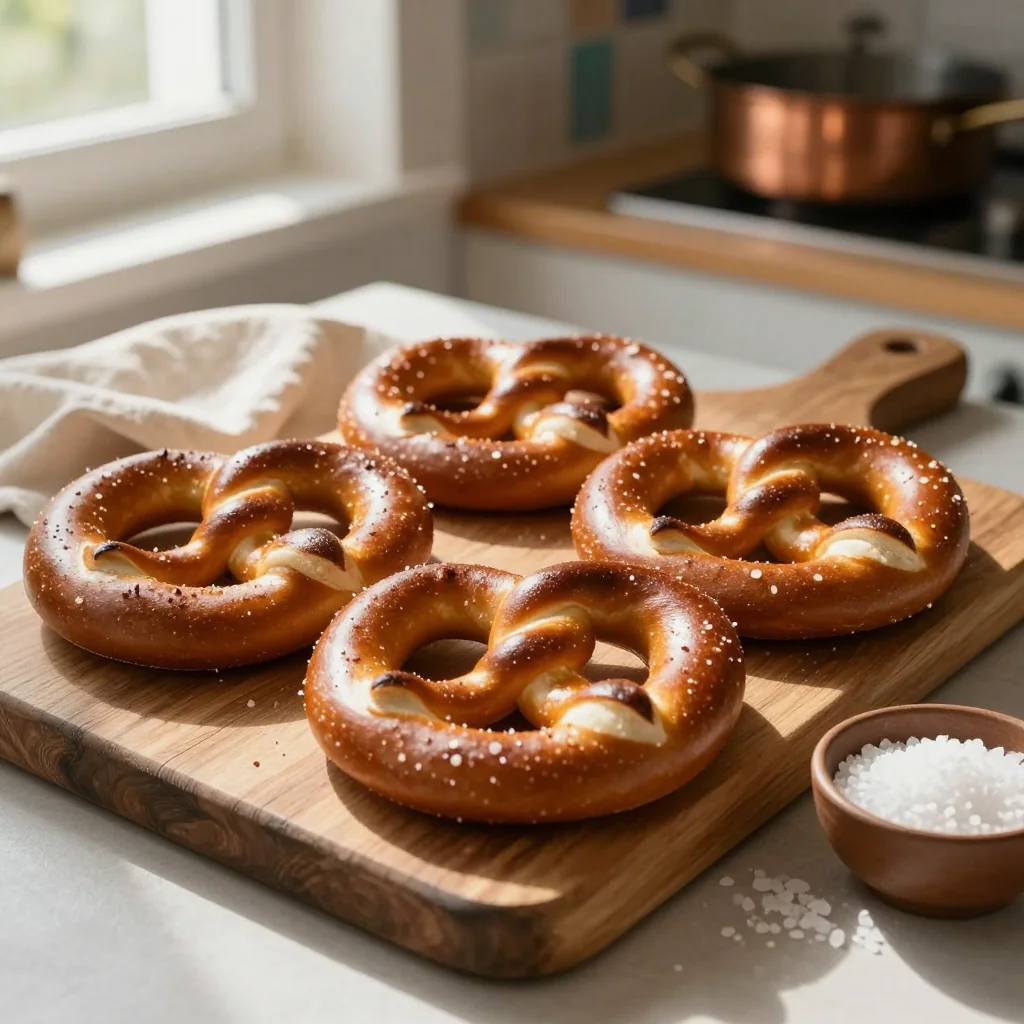
Golden, chewy pretzels with a crisp salty crust that bring the comfort of a bakery right to your kitchen.
There’s something magical about the moment you pull a fresh, steaming pretzel from the oven, its surface glistening with a light coat of sea salt, and the aroma of caramelized dough fills the kitchen. I still remember the first time I tasted a pretzel at a bustling street market in Berlin; the contrast between the soft, pillowy interior and the crisp, salty crust was an instant love affair. That memory sparked countless experiments in my home kitchen, leading to this perfected, no‑fuss version that captures the same joy without the need for a commercial oven.
Soft pretzels have a humble origin in European monasteries, where monks would bake simple dough shapes and sprinkle them with coarse salt for sustenance during long vigils. Over the centuries, the pretzel evolved into a beloved snack across cultures, from American fairs to German bakeries. Today, they are a versatile canvas for flavors, and the addition of sea salt brings a briny brightness that elevates the entire bite.
In this guide, I’ll walk you through every step—from nurturing the yeast‑infused dough to the classic alkaline boil that gives pretzels their signature chew, and finally the perfect bake that locks in flavor. You’ll learn the science behind the boil, the tricks to shaping perfect knots, and how to adjust the recipe for any number of guests.
Grab your mixing bowl, preheat the oven, and let’s embark on a delicious journey that will fill your home with the comforting scent of fresh‑baked pretzels.
🌟 Why This Recipe Will Win Your Heart
Whether you’re feeding a crowd or craving a solo snack, these soft pretzels deliver flavor, texture, and a sense of achievement that’s hard to beat.
- ✨ Foolproof Yeast Activation: The step‑by‑step temperature guide ensures the yeast awakens perfectly, guaranteeing a light, airy crumb every time.
- ✨ Authentic Alkaline Boil: A quick dip in a baking‑soda bath creates that iconic glossy crust without the need for expensive lye.
- ✨ Adjustable Portion Control: The built‑in portion selector lets you scale the recipe up or down without recalculating each ingredient manually.
- ✨ Versatile Flavor Base: The plain dough is a blank canvas—add herbs, cheese, or sweet toppings for endless variations.
- ✨ Quick Prep, Minimal Hands‑On Time: With a total time under 40 minutes, you can enjoy fresh pretzels even on a busy weekday.
- ✨ Crowd‑Pleaser Proven: The combination of a soft interior and a salty crunch makes these pretzels a hit at parties, picnics, and game nights.
🥗 Ingredients
📝 Complete Ingredient List
For the Dough:
For the Boiling Solution:
For Topping:

🔍 Focus on Key Ingredients
Bread Flour
Bread flour contains a higher protein content than all‑purpose flour, which develops more gluten during kneading. This gluten network is the backbone of the pretzel’s chewy texture. When shopping, look for flour labeled “high‑gluten” or “bread flour” and store it in an airtight container to keep it fresh.
Active Dry Yeast
Yeast is the living engine that creates the airy interior of the pretzel. Active dry yeast needs a warm environment (around 110°F/43°C) to awaken. If the water is too hot, it will kill the yeast; too cool, and the dough will rise sluggishly. Always proof the yeast with a pinch of sugar before adding it to the flour.
Baking Soda
The alkaline bath created by dissolving baking soda in boiling water changes the pH of the dough’s surface, producing a glossy, brown crust and the classic pretzel flavor. It’s a safe alternative to lye, which is used in traditional German pretzel making but can be hazardous.
🔄 Quick Substitutions
| If you don’t have… | Use instead… |
|---|---|
| Bread flour | All‑purpose flour + 2 tbsp vital wheat gluten |
| Active dry yeast | Instant yeast (use ⅔ the amount) |
| Coarse sea salt | Fleur de sel or kosher salt |
👨🍳 Step‑by‑Step Instructions
Follow these detailed steps to create pretzels that look bakery‑perfect and taste even better.
📋 Phase 1: Preparation and Mise en Place
First we’ll activate the yeast and bring all dry components together.
Proof the yeast
In a small bowl, combine the warm water (110°F/43°C) with the granulated sugar and sprinkle the active dry yeast over the surface. Let it sit for 5‑7 minutes until it becomes frothy and doubles in size. This visual cue tells you the yeast is alive and ready to work.
Mix dry ingredients
In a large mixing bowl, whisk together the bread flour, salt, and melted butter. Make a well in the center and pour in the proofed yeast mixture. Stir with a wooden spoon until a shaggy dough forms.
Knead the dough
Turn the dough onto a lightly floured surface and knead for 8‑10 minutes. The dough should become smooth, elastic, and slightly tacky. Perform the “windowpane test”: stretch a small piece; if it becomes translucent without tearing, the gluten is well‑developed.
🔥 Phase 2: Rising, Shaping, and Boiling
Now the dough will rise, be shaped into classic pretzel loops, and receive its signature alkaline bath.
First rise
Place the kneaded dough in a lightly oiled bowl, cover with plastic wrap, and let it rise in a warm spot for 45‑60 minutes, or until doubled in size. This fermentation develops flavor and creates a light interior.
Divide and shape
Turn the risen dough onto a clean surface and gently deflate it. Divide into 8 equal pieces (about 120 g each). Roll each piece into a 12‑inch rope, then form a classic pretzel shape by forming a “U”, crossing the ends, and pressing them onto the bottom of the “U”. Pinch to seal.
Second rise
Place shaped pretzels on a parchment‑lined baking sheet, cover loosely with a clean kitchen towel, and let them rest for 15‑20 minutes. They should puff up slightly but not double.
Prepare the alkaline bath
In a large pot, bring 2.36 L of water to a rolling boil. Carefully add the baking soda (it will foam). Reduce to a gentle boil and have a slotted spoon ready for dipping pretzels.
Boil pretzels
One at a time, gently lower a pretzel into the boiling solution for exactly 30 seconds. Using the slotted spoon, turn it once halfway through. Remove and place back on the baking sheet. The brief boil creates the characteristic glossy crust.
✨ Phase 3: Baking, Finishing, and Serving
The final bake locks in flavor, and a brush of butter adds richness before the sea‑salt finish.
Brush and salt
Preheat the oven to 220°C (425°F). While it heats, brush each boiled pretzel with melted butter. Sprinkle generously with coarse sea salt, allowing the salt to cling to the buttered surface.
Bake
Place the pretzels on the middle rack and bake for 12‑15 minutes, until they turn a deep golden brown and the crust feels firm to the touch. Rotate the sheet halfway through for even coloring.
Cool and serve
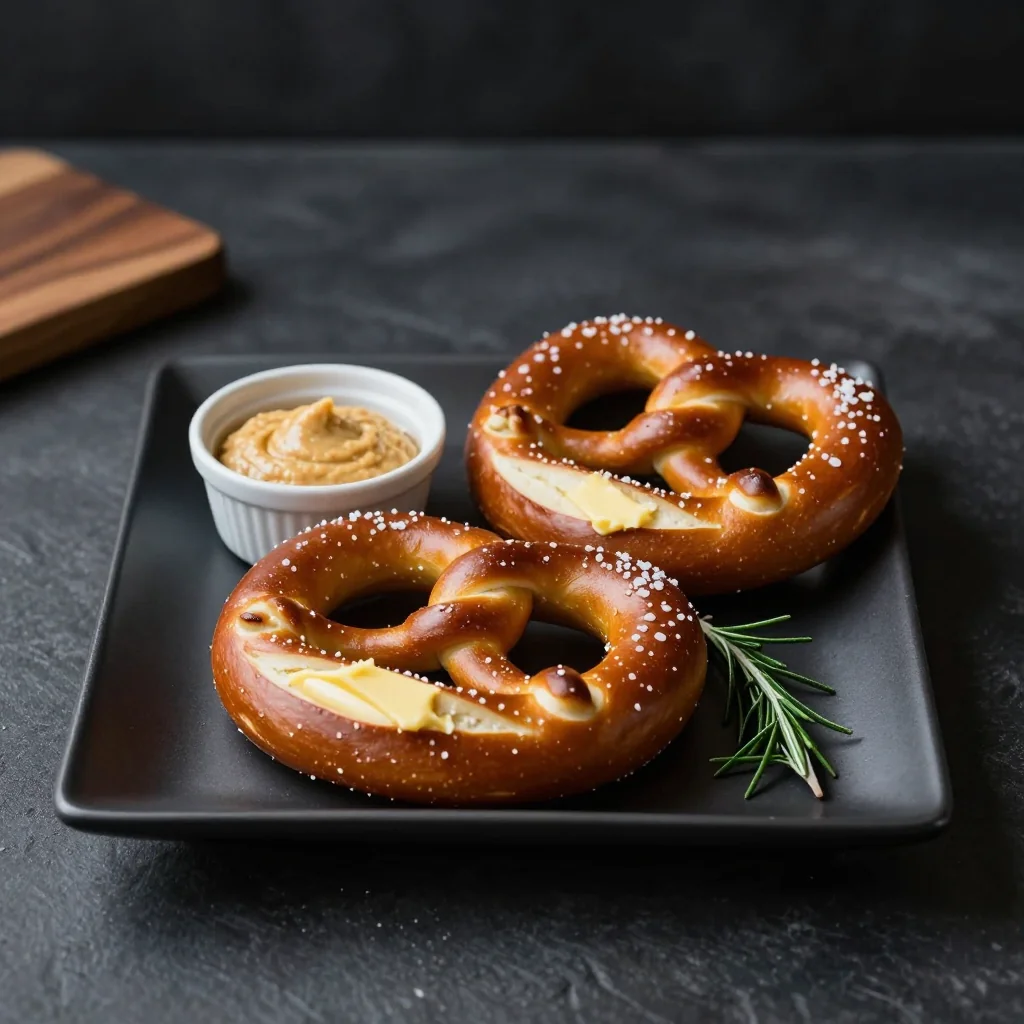
Transfer the baked pretzels to a wire rack and let them cool for 5 minutes. Serve warm with mustard, cheese dip, or simply enjoy them plain.
💡 Expert Tips and Tricks
🛒 Choosing the Right Ingredients
Opt for unbleached bread flour for maximum gluten development. Fresh yeast is crucial; always check the expiration date and store it in the refrigerator after opening. When selecting sea salt, look for flakes that are large enough to stay on the surface without dissolving during baking. High‑quality butter adds flavor to the brush; clarified butter can be used for a richer, less watery finish.
🔪 Preparation Techniques
When shaping, keep the dough rope uniform; uneven thickness leads to inconsistent baking. Use a bench scraper to divide the dough cleanly, ensuring each pretzel has the same weight. Lightly flour your work surface to prevent sticking but avoid excess flour, which can make the crust dry.
🌡️ Mastering the Bake
The oven must be fully preheated to 220°C (425°F) before the pretzels go in; a lower temperature yields a softer crust. Use a convection setting if available for an even, crisp exterior. The alkaline bath is the secret to that glossy finish—don’t skip it, and never exceed 30 seconds per pretzel, or they’ll become too soft.
🍽️ Presentation and Service
Arrange the pretzels on a wooden board for rustic charm. Add a small bowl of grainy mustard or a cheese sauce for dipping. For a festive touch, drizzle a little honey over the pretzels just before serving; the sweet‑salty contrast is delightful.
🏆 Pro Tips
Elevate your pretzel game from home‑cooked to bakery‑level with these professional insights.
- 🎯 Control Fermentation Temperature: Keep the dough’s rise environment between 75‑80°F (24‑27°C). Higher temperatures accelerate yeast activity, leading to a more pronounced sour note, while cooler environments produce a milder flavor. Use a kitchen thermometer to monitor ambient temperature.
- 🎯 Use a Steam Oven for Extra Crust: Introducing steam in the first 5 minutes of baking creates a more pronounced crust. If your oven lacks a steam function, place a shallow pan of hot water on the lower rack while baking.
- 🎯 Adjust Salt Levels with Water Hardness: Hard water can amplify the salty taste. If you have hard tap water, reduce the sea‑salt topping by 10‑15% to keep the balance.
- 🎯 Incorporate Autolyse: Mix flour and water first and let rest for 20 minutes before adding yeast and salt. This simple step improves dough elasticity and results in a lighter crumb.
- 🎯 Freeze for Later Use: After the first rise, shape the pretzels, place them on a tray, and freeze solid. Transfer to a freezer bag; they can be baked directly from frozen, adding 5‑7 minutes to the bake time.
- 🎯 Experiment with Flavored Salts: Finish pretzels with smoked sea salt, rosemary‑infused salt, or citrus zest mixed into the salt for unique flavor profiles.
"A pretzel is a humble knot that, when done right, ties together technique, tradition, and taste." — Thomas Keller
🔄 Variations and Adaptations
The base recipe is a versatile platform; here are ways to customize it for dietary needs, flavor cravings, and family-friendly twists.
🥬 Vegetarian / Vegan Version
Replace the butter with an equal amount of plant‑based margarine or coconut oil, and ensure the sea salt is vegan‑certified (most are). Use a plant‑based milk spray instead of butter for brushing to add a subtle richness.
- Substitution 1: 28 g melted vegan butter or coconut oil for the dairy butter.
- Substitution 2: Use aquafaba (chickpea water) brushed lightly for a glossy finish.
🌶️ Flavor Variations
Play with the dough or topping to create exciting taste experiences.
Spicy Version:
Add 1 tsp crushed red pepper flakes to the dough and sprinkle a pinch of cayenne on the pretzels before baking. Serve with a jalapeño‑infused cheese dip for extra heat.
Mediterranean Version:
Mix 2 tbsp chopped fresh rosemary and 1 tbsp grated Parmesan into the dough. Top with a drizzle of olive oil and a sprinkle of za’atar after baking.
Asian Fusion Version:
Incorporate 1 tbsp toasted sesame oil into the dough and sprinkle toasted sesame seeds and a dash of soy sauce before baking. Serve with a sweet chili dipping sauce.
⚠️ Dietary Adaptations
Gluten‑Free:
Use a 1:1 gluten‑free flour blend that includes xanthan gum. Increase the water by 15 ml to compensate for the different absorption rates.
Lactose‑Free:
Swap butter for lactose‑free margarine or clarified ghee. Ensure any topping salt does not contain dairy additives.
Low‑Calorie:
Reduce butter to 15 g, use a light spray of olive oil instead of a full brush, and limit the sea‑salt topping to a light dusting. Serve with a low‑fat Greek yogurt dip.
👶 Family / Kids Version
Kids love fun shapes! Divide the dough into smaller pieces and shape them into mini pretzel bites or “pretzel sticks.” Reduce the salt topping or use a milder flaky sea salt. Pair with a sweet honey‑mustard dip to appeal to younger palates.
📦 Storage and Reheating
🧊 Conservation
Refrigerator:
- Duration: 3–4 days
- Container: Airtight plastic container or zip‑lock bag
- Tip: Place a paper towel inside to absorb excess moisture and keep the crust from getting soggy.
Freezer:
- Duration: Up to 2 months
- Method: Freeze after the first rise, before the boil. Lay pretzels on a parchment sheet, freeze solid, then transfer to a freezer bag.
- Defrosting: Transfer to the refrigerator overnight or bake directly from frozen, adding 5‑7 minutes to the bake time.
💡 For best texture, reheat rather than store at room temperature, as the crust can become chewy if left out too long.
♨️ Reheating
🔥 Oven (Recommended):
- Preheat to 190°C (375°F).
- Place pretzels on a baking sheet, cover loosely with foil.
- Heat for 8‑10 minutes.
- Remove foil and bake an additional 2‑3 minutes for crispness.
⚡ Microwave (Quick):
- Place pretzel on a microwave‑safe plate.
- Cover with a microwave‑safe lid or damp paper towel.
- Heat on medium power for 30‑45 seconds.
- Check texture; add another 15 seconds if needed.
🍳 Skillet:
Heat a non‑stick skillet over medium heat, add a thin layer of butter, and warm each pretzel for 1‑2 minutes per side, pressing gently to revive the crust.
🍷 Perfect Pairings
🥗 Accompaniments
- German Mustard: Its sharp, tangy flavor cuts through the salty crust.
- Cheddar Cheese Dip: Melted cheddar with a splash of milk creates a creamy dip.
- Herb Yogurt Sauce: Greek yogurt blended with dill, lemon zest, and a pinch of garlic.
🍷 Wine & Beverage Pairings
- Pilsner Beer: The crisp carbonation balances the pretzel’s richness.
- Dry Riesling: Its bright acidity complements the salty notes.
- Non‑Alcoholic: Sparkling apple cider with a hint of cinnamon.
🍰 To Complete the Meal
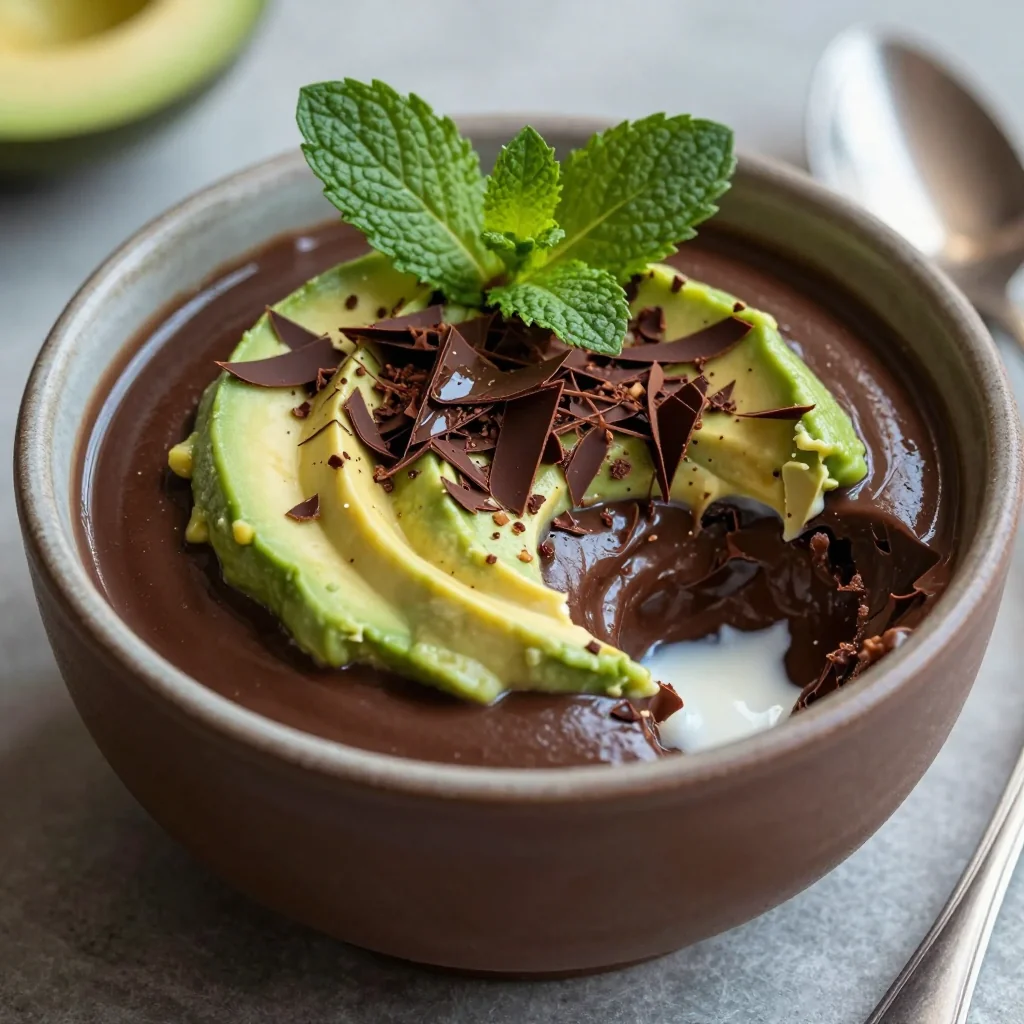
Start with a light mixed green salad dressed in a lemon‑vinaigrette, follow with the pretzels as a main snack, and finish with a simple fruit crumble or a chocolate mousse for a sweet contrast.
❓ Frequently Asked Questions
Q: Can I use instant yeast instead of active dry yeast?
Yes. Substitute 5 g (about 1 ½ tsp) of instant yeast for the 7 g of active dry yeast. Skip the proofing step; simply mix the instant yeast directly with the dry ingredients. The rise time may be slightly shorter, so keep an eye on the dough’s volume.
Q: Why does the recipe call for a baking‑soda bath instead of lye?
Baking soda creates a milder alkaline environment that is safe for home cooks while still producing the characteristic pretzel crust. Lye (sodium hydroxide) yields a deeper color and a more pronounced flavor but requires careful handling and protective gear, making it unsuitable for most home kitchens.
Q: My pretzels turned out dense and not chewy. What went wrong?
Common culprits include under‑proofed dough, insufficient kneading, or water that was too hot, killing the yeast. Ensure the water temperature is around 110°F (43°C), knead until the windowpane test passes, and allow the dough to double in size during the first rise.
Q: Can I add cheese to the pretzels before baking?
Absolutely. Sprinkle shredded cheddar, mozzarella, or Parmesan on the pretzels after the butter brush and before the final bake. The cheese will melt and create a deliciously gooey layer that pairs beautifully with the sea‑salt topping.
Q: How do I store pretzels to keep them fresh for a week?
Place cooled pretzels in an airtight container with a slice of bread to maintain moisture. The bread releases steam slowly, preventing the pretzels from drying out. Reheat in the oven before serving to restore crispness.
Q: Is it possible to make pretzels ahead of time and freeze them?
Yes. After shaping and the second rise, freeze the pretzels on a parchment sheet. Once solid, transfer them to a freezer bag. When ready, boil and bake directly from frozen, adding a few extra seconds to the boil and bake times.
🎉 To Your Oven!
These homemade soft pretzels with sea salt are more than a snack—they’re a celebration of simple ingredients transformed by technique. From the fragrant yeast rise to the glossy alkaline bath, each step builds layers of flavor and texture that make the final bite unforgettable. Whether you’re feeding a family, impressing friends at a game night, or simply treating yourself, this recipe delivers a bakery‑quality experience without leaving your kitchen.
Don’t forget to experiment with the variations, share your favorite toppings, and let the aroma of fresh pretzels become a regular highlight in your home cooking routine. Your feedback helps me refine the recipe, so feel free to leave comments, ask questions, or suggest new twists.
Have you tried this recipe?
Leave a comment and a rating below! Share your photos on Instagram with #PretzelPerfection to be featured on the blog.
Homemade Soft Pretzels with Sea Salt
Golden, chewy pretzels finished with a crisp sea‑salt crust, perfect for any occasion.
📝 Ingredients
Dough
Boiling Solution
Topping
👨🍳 Instructions
- 1
Proof the yeast in warm water with sugar until frothy.
- 2
Combine flour, salt, and melted butter; add yeast mixture and stir into a shaggy dough.
- 3
Knead on a floured surface for 8‑10 minutes until smooth and elastic.
- 4
Let the dough rise in an oiled bowl for 45‑60 minutes, covered.
- 5
Divide into 8 pieces, roll into ropes, and shape into pretzel knots.
- 6
Second rise for 15‑20 minutes on a parchment sheet.
- 7
Boil each pretzel for 30 seconds in a baking‑soda solution.
- 8
Brush with melted butter, sprinkle sea salt, and bake at 220°C for 12‑15 minutes.
- 9
Cool briefly on a wire rack, then serve warm.
- 10
Enjoy with your favorite dip and share with friends!
🥗 Nutritional Information (per serving)
*Values are estimates based on standard ingredient data.
📚 You Might Also Like
Soft Garlic Breadsticks
Chocolate Croissants
Sourdough Bread


💬 Comments and Reviews
Leave a Comment
[Reader comments will appear here]