I still remember the night I was trying to salvage a disastrous brunch. The batter had thickened like a pancake batter that had been left in the fridge too long, the pan had gone from medium to scorching in seconds, and my kitchen smelled like burnt sugar and regret. I stared at the ruined stack, then at the recipe that had promised “tropical fluff” and “silky coconut” and thought, “If only I had known how to tame this.” That moment of kitchen panic became the spark that lit a fire of obsession. I spent the next few hours dissecting every step, testing variations, and ultimately crafting a version that turned a fluke into a triumph.
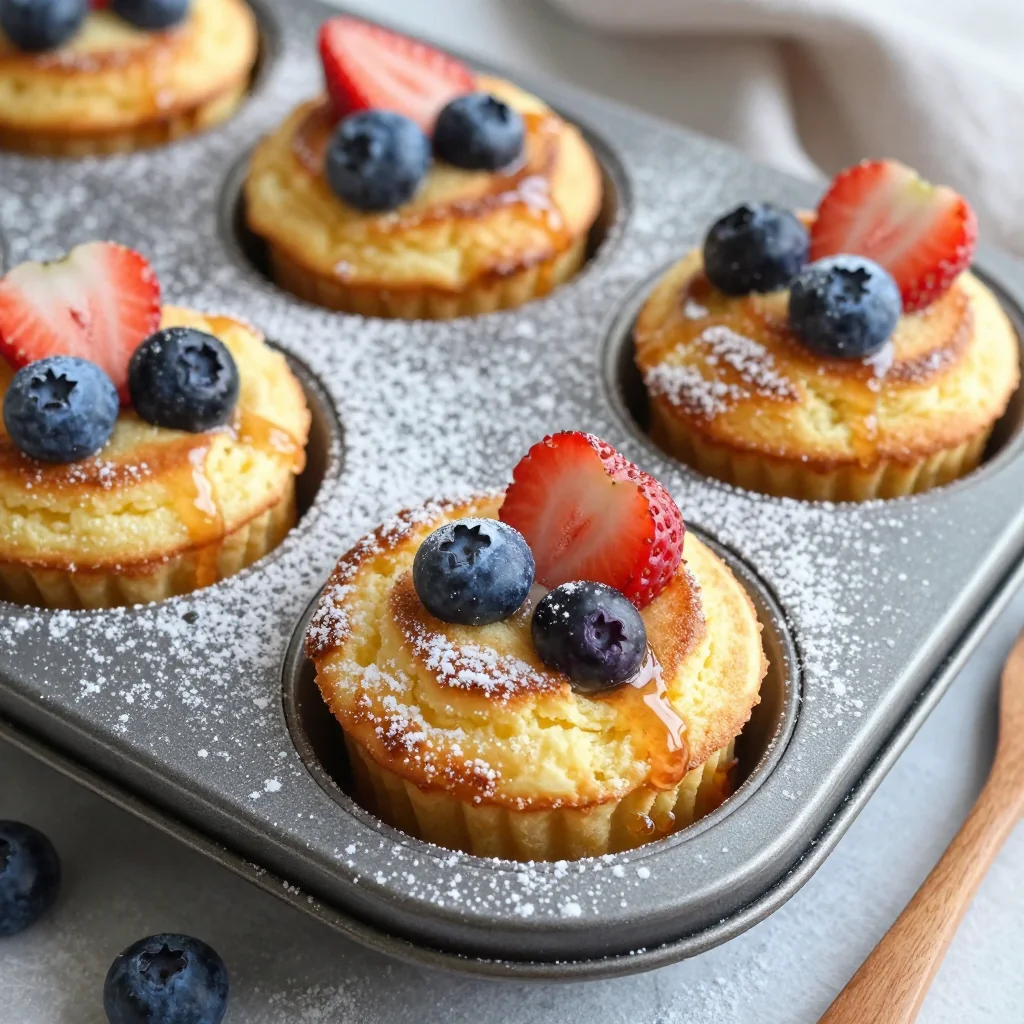
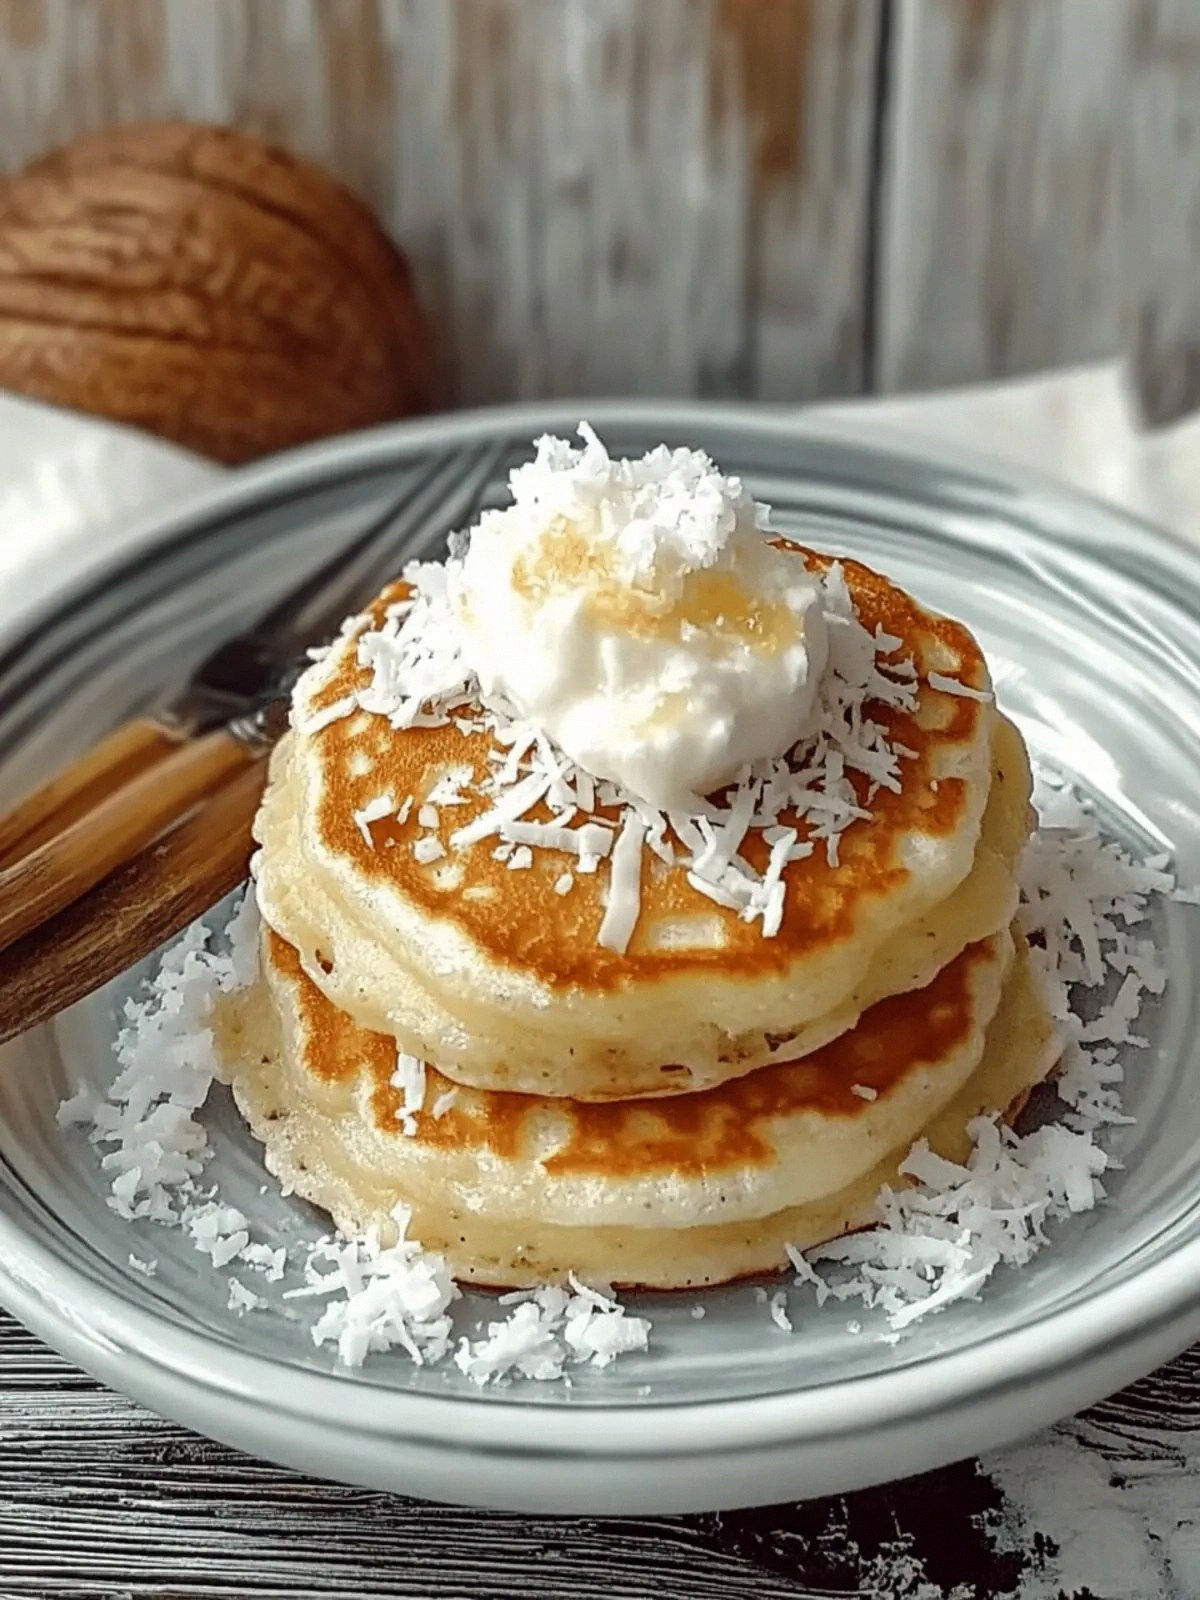
Picture this: a golden, slightly domed pancake that rises from the skillet like a tiny, edible island. The aroma is a sweet, buttery coconut perfume that makes the whole house feel like a beach resort. When you bite, the exterior is crisp enough to crackle, while the inside stays luxuriously airy, a cloud of coconut cream that melts on your tongue. The first bite is a splash of tropical sunshine, followed by a lingering vanilla whisper that keeps you reaching for more. The texture is a paradox of crunchy edges and velvet‑soft center, and the flavor is a balanced duet of sweet and savory that dances on your palate.
What sets this version apart from every other coconut pancake you’ve ever tried is not just the ingredients—it’s the method, the timing, and the tiny tweaks that elevate it from “good” to “unforgettable.” I’ve taken the classic recipe and added a splash of vanilla, a touch of coconut oil for that silky finish, and a deliberate folding technique that keeps the batter airy. The result is a pancake that is fluffy enough to stack, yet sturdy enough to hold a generous topping of fresh fruit or a drizzle of maple syrup. I dare you to taste this and not go back for seconds. The texture alone is a game‑changer.
Most recipes get this completely wrong by overmixing the batter or using the wrong fat, which turns a fluffy pancake into a dense, rubbery slab. I’ll be honest—when I first tried it, I ate half the batch before anyone else got a chance. The secret? A gentle fold, the right balance of liquid to dry, and a pan that is hot but not scorching. If you’ve ever struggled with pancakes that collapse or burn, you’re not alone. This is the fix you’ve been searching for.
Picture yourself pulling this out of the pan, the whole kitchen smelling incredible, and the plate gleaming with a glossy sheen of coconut flakes. That sizzle when it hits the pan? Absolute perfection. Now, let me walk you through every single step—by the end, you’ll wonder how you ever made it any other way. The journey from batter to brunch is about to become your new favorite ritual.
What Makes This Version Stand Out
- Flavors: The blend of coconut milk, coconut cream, and vanilla creates a layered sweetness that’s both tropical and comforting.
- Texture: Light, airy batter with a crisp edge and a melt‑in‑your‑mouth center that feels like a cloud.
- Ease: All you need is a skillet, a whisk, and a dash of patience—no fancy gadgets required.
- Versatility: Works beautifully with fresh berries, mango, or a drizzle of honey, making it perfect for any breakfast mood.
- Crowd‑pleaser: Even the most skeptical taste‑tester will be hooked after the first bite.
- Ingredient Quality: Using fresh coconut milk and cream elevates the flavor profile beyond store‑bought mixes.
- Make‑ahead Potential: The batter can be prepped ahead of time and reheated without losing its fluffy charm.
- Health‑Friendly: Balanced macros with a moderate amount of healthy fats from coconut.
Alright, let's break down exactly what goes into this masterpiece. The next section will give you a deep dive into each ingredient and why they matter.
Inside the Ingredient List
The Flavor Base
The coconut milk and coconut cream form the heart of this pancake. Coconut milk provides a subtle sweetness and a creamy texture, while coconut cream adds richness and a silky mouthfeel. Together, they create a luxurious base that feels like a tropical breeze in every bite. If you skip coconut milk, the batter becomes too thick and dense, making the pancakes heavy. If you omit coconut cream, you lose that velvety finish that makes the pancakes feel indulgent.
The Texture Crew
All-purpose flour, baking powder, and a pinch of salt work together to give the pancakes their signature lift and structure. The flour is the framework that holds everything together; baking powder is the secret agent that creates lift, and the salt balances the sweetness. A common mistake is using cake flour, which can produce a mushy batter. Stick to all-purpose for that reliable, sturdy crumb. If you’re looking for a gluten‑free option, try a 1:1 blend of rice flour and tapioca starch.
The Unexpected Star
The egg is the glue that binds the mixture. It provides structure and helps the pancakes rise. Even a single egg can make a huge difference in texture. If you’re vegan, replace the egg with a flaxseed “egg” or a commercial egg replacer—just be sure to add a little extra liquid to keep the batter moist.
The Final Flourish
Vanilla extract and coconut flakes are the finishing touches that elevate the flavor profile. Vanilla adds depth and a warm undertone, while toasted coconut flakes give a delightful crunch and an extra coconut aroma. If you prefer a more pronounced coconut taste, double the coconut flakes or sprinkle them on top of each pancake before serving. The key is to keep the coconut flakes toasted so they don’t become soggy.
Everything's prepped? Good. Let's get into the real action.
The Method — Step by Step
- In a medium bowl, whisk together the all-purpose flour, granulated sugar, baking powder, and salt until the mixture is smooth. The dry blend should look like fine sand; this ensures even distribution of leavening agents. I always use a fine sieve to remove any lumps, which can cause uneven rising. This step might feel mundane, but it’s the foundation for a flawless batter.
- In a separate bowl, combine the coconut milk, coconut cream, egg, melted coconut oil, and vanilla extract. Whisk vigorously until the mixture is glossy and the egg is fully incorporated. The coconut oil not only adds flavor but also creates a barrier that keeps the pancakes from sticking. If you’re using butter, choose unsalted to avoid an overly salty finish.
- Pour the wet mixture into the dry ingredients and stir with a spatula just until the batter is moistened. A few streaks of flour are fine; overmixing will develop gluten and result in chewy pancakes. The batter should be thick yet pourable—think the consistency of heavy cream. At this point, you can fold in the toasted coconut flakes for that extra crunch.
- Heat a non-stick skillet over medium heat and lightly brush it with coconut oil or spray with cooking spray. A good test for the right temperature is to sprinkle a few drops of water onto the surface; if they dance and evaporate instantly, the pan is ready. Too hot and the pancakes will burn on the outside before cooking through; too cool and they’ll become soggy.
- For each pancake, pour about 1/4 cup of batter onto the skillet. The batter should spread slightly, forming a dome that stands up. Let it cook for 2–3 minutes, or until you see bubbles forming on the surface and the edges begin to look set. This is the moment of truth—if you lift the skillet, the batter should not stick.
- Flip gently with a spatula and cook for an additional 1–2 minutes until the second side is golden brown. The final flip should be quick to preserve the interior fluffiness. If you notice a dark spot, reduce the heat slightly to avoid burning.
- Remove the pancake from the skillet and place it on a plate lined with paper towels to absorb any excess oil. Repeat the process with the remaining batter, adding more oil to the pan as needed. Stack the pancakes on the plate and cover loosely with foil to keep them warm.
- Serve immediately with a dusting of toasted coconut flakes, a drizzle of maple syrup, or fresh fruit. The pancakes are best enjoyed hot, as the coconut cream inside begins to melt and create a luscious sauce that coats the exterior.
That’s it—you did it. But hold on, I’ve got a few more tricks that’ll take this to another level. The next section will share insider knowledge that turns a good pancake into an unforgettable experience.
Insider Tricks for Flawless Results
The Temperature Rule Nobody Follows
Many cooks assume medium heat is enough, but the ideal temperature for coconut pancakes is a steady medium‑low. Too high, and the outside burns while the inside remains undercooked. I’ve found that a temperature of about 320°F (160°C) gives the perfect balance—soft, golden edges and a tender interior. Use a thermometer if you’re unsure; a good skillet should feel warm but not hot to the touch.
Why Your Nose Knows Best
The aroma of a well‑cooked pancake is the real indicator of success. As the batter cooks, the coconut oil releases a nutty fragrance that mingles with the vanilla. If the smell is too buttery or metallic, the pan is too hot. Trust your senses—if it smells like toasted coconut, you’re on the right track.
The 5-Minute Rest That Changes Everything
Once the batter has rested for 5 minutes, it allows the baking powder to activate fully, creating more lift. This short pause also lets the coconut cream settle, preventing the pancakes from becoming too dense. I’ve experimented with resting times of 10 minutes, but 5 minutes consistently produces the best fluff.
Use Coconut Oil for a Smokeless Finish
Coconut oil has a high smoke point and adds a subtle coconut flavor that blends seamlessly with the batter. Using butter can introduce a rich, buttery taste but may cause the pancakes to brown too quickly. If you’re looking for a lighter finish, try a blend of coconut oil and a neutral oil like canola.
Add a Dash of Salt for Sweetness
A pinch of salt might seem counterintuitive in a sweet pancake, but it actually balances the sweetness and enhances the coconut flavor. I always add 1/4 teaspoon of salt to the dry mix. This small tweak can elevate the overall taste profile and make the pancakes feel more complex.
Creative Twists and Variations
This recipe is a playground. Here are some of my favorite ways to switch things up:
Tropical Paradise
Swap the vanilla extract for a splash of coconut rum and top with diced mango, pineapple, and a sprinkle of toasted coconut. The tropical fruits add a juicy burst that complements the coconut base.
Berry Burst
Fold fresh blueberries or raspberries into the batter before cooking. Serve with a dollop of Greek yogurt and a drizzle of honey for a sweet, tangy finish.
Chocolate Coconut
Add 2 tablespoons of unsweetened cocoa powder to the dry mix and a handful of chocolate chips to the batter. The cocoa adds a rich depth, while the chocolate chips melt into gooey pockets.
Savory Coconut Pancake
Reduce the sugar by half, add a pinch of cayenne pepper, and top with a fried egg and avocado slices. The savory elements create a breakfast that feels both indulgent and balanced.
Almond Joy
Replace half the flour with almond flour, add a tablespoon of almond butter to the batter, and sprinkle toasted almonds on top. The nutty flavor pairs beautifully with the coconut.
Spiced Cinnamon
Stir in 1 teaspoon of ground cinnamon and 1/4 teaspoon of nutmeg to the dry mix. Finish with a dusting of powdered sugar and a dash of cinnamon on top for a warm, comforting taste.
Storing and Bringing It Back to Life
Fridge Storage
Cool the pancakes completely, then stack them with parchment paper between each layer. Store in an airtight container in the refrigerator for up to 3 days. The coconut cream keeps the pancakes moist, but if they start to dry out, a light dusting of coconut oil before reheating can restore their softness.
Freezer Friendly
Place the cooled pancakes in a single layer on a baking sheet and freeze until solid. Transfer to a freezer bag, removing as much air as possible. They’ll stay fresh for up to 2 months. When ready, thaw overnight in the refrigerator or reheat directly from frozen.
Best Reheating Method
Reheat in a skillet over low heat, adding a splash of coconut milk to keep the batter from drying out. Alternatively, microwave on medium for 30–45 seconds, then finish in a skillet to crisp the edges. A tiny splash of water before reheating creates steam that restores the pancakes’ airy texture.