I was halfway through a late‑night dessert experiment when my oven alarm rang like a diva demanding attention. I had just whisked a mound of cream cheese into a pot of melted white chocolate, only to realize the pan was still on the stove, scorching the base of my batter. The kitchen smelled like burnt sugar, and my living room looked like a frosting disaster zone. I laughed, grabbed my phone, and vowed that the next time I’d bake, I’d turn this catastrophe into a triumph. If you’ve ever watched a dessert turn into a kitchen horror show, you’ll feel right at home with this rescue recipe.
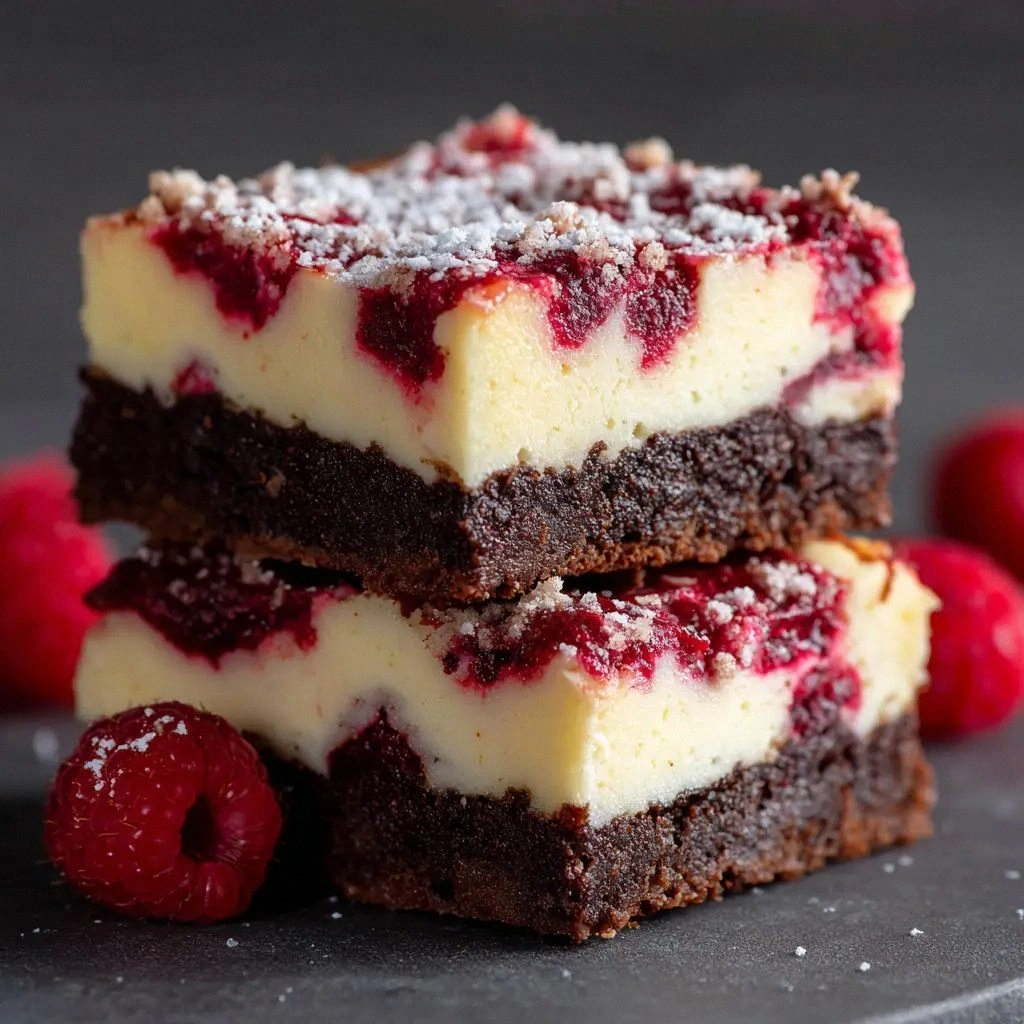
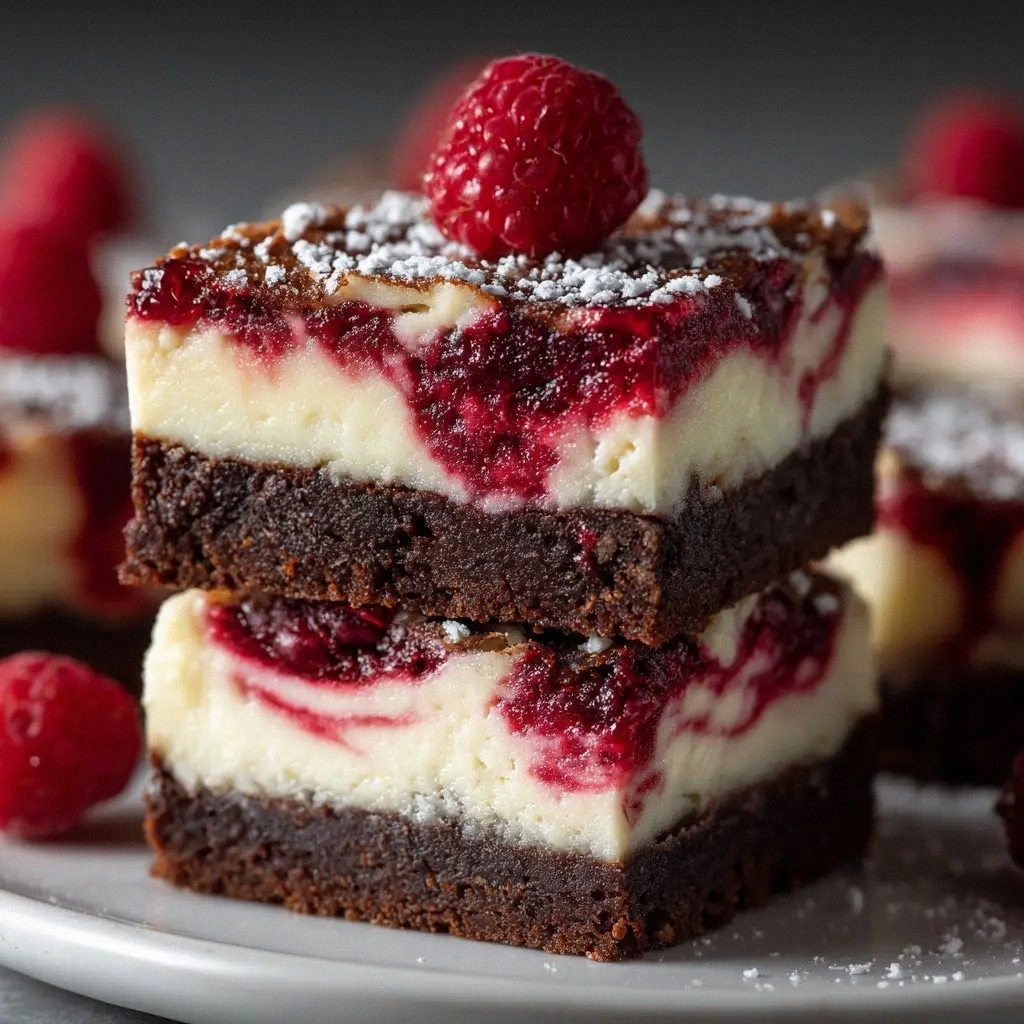
Picture this: the oven’s gentle hum, the sweet scent of vanilla and lemon swirling through the air, and a glossy, caramel‑gold crust that crackles as you lift it from the pan. The first bite is a silky cascade of white chocolate, the tartness of raspberries dancing on your tongue, and a subtle citrus lift that brightens the palate. The texture is a perfect blend of fudgy and crumbly, with a buttery crust that gives a satisfying snap before the creamy center melts. Each mouthful feels like a secret indulgence, and the aroma alone makes you want to stay in the kitchen longer. That sensory experience is what makes this recipe unforgettable.
What sets this version apart is that it’s not just another cheesecake bar; it’s a carefully balanced symphony of flavors and textures. I’ve dialed in the exact ratio of white chocolate to cream cheese so the richness doesn’t overpower the raspberries, and I’ve added a splash of lemon juice to cut through the sweetness. The crust uses real graham cracker crumbs, not a pre‑made mix, giving it an authentic crunch. And the method is straightforward enough that even a novice can achieve a professional finish. I dare you to taste this and not go back for seconds; it’s that good. This is hands down the best version you’ll ever make at home.
Now, I’m about to walk you through every single step. By the end, you’ll wonder how you ever made it any other way. And if you’ve ever struggled with cheesecake bars, you’re not alone—this recipe has the fix you’ve been searching for. Picture yourself pulling these out of the oven, the whole kitchen smelling incredible, and then slicing them into bite‑size squares that melt in your mouth. Okay, ready for the game‑changer? Let’s dive in.
What Makes This Version Stand Out
- Flavor: The combination of silky white chocolate and bright raspberries creates a taste that’s both sweet and tart, leaving a lingering citrus finish.
- Texture: A buttery graham cracker crust provides a crisp base that contrasts with the creamy, almost mousse‑like filling.
- Ingredient Quality: Using high‑quality white chocolate and fresh raspberries guarantees depth of flavor that store‑bought substitutes simply can’t match.
- Ease of Prep: All steps can be completed in under an hour, making this a go‑to dessert for busy evenings.
- Make‑ahead Friendly: Once chilled, these bars hold up for up to five days, so you can prep ahead for parties or late‑night cravings.
- Visual Appeal: The glossy finish of the melted white chocolate on the crust makes each bar a showstopper on any dessert plate.
- Versatility: The base can be swapped for chocolate or lemon variations, giving you endless flavor possibilities.
- Kid‑Friendly: The sweet profile is appealing to children while still satisfying adult taste buds.
Inside the Ingredient List
The Flavor Base
Graham cracker crumbs form the backbone of the crust, providing a sweet, buttery foundation that anchors the creamy filling. They also give the bars a satisfying crunch that breaks up the silky texture. If you skip the crumbs, the bars lose that essential bite, turning into a flat, overly soft dessert. A quick swap is to use crushed graham crackers, but the crumb texture is preferable for a uniform crust.
The Texture Crew
Cream cheese, sour cream, and eggs work together to create a luscious, mousse‑like filling. The cream cheese brings richness, the sour cream adds tang and moisture, and the eggs bind everything while providing structure. Without the eggs, the bars would fall apart, and skipping sour cream would make the dessert too dense. For a lighter version, replace half the cream cheese with Greek yogurt, but keep the ratio of eggs the same.
The Unexpected Star
White chocolate is the secret weapon that elevates this dessert. Its subtle sweetness and smooth melt make it the perfect partner for tart raspberries. If you’re not a fan of white chocolate, you can use dark chocolate, but the flavor profile will shift to a more bitter tone. A quality white chocolate will melt evenly, preventing lumps and ensuring a silky finish.
The Final Flourish
Raspberries add a burst of juiciness and a natural tartness that cuts through the richness. Fresh lemon juice brightens the entire dish, giving it a subtle citrus lift that balances the sweetness. If you’re using frozen berries, thaw them and gently squeeze out excess liquid to avoid a watery filling. A pinch of sea salt can also enhance the flavors, but keep it minimal to preserve the dessert’s sweetness.
Everything's prepped? Good. Let's get into the real action.
The Method — Step by Step
- Preheat your oven to 325°F (160°C). Line a 9x13‑inch baking pan with parchment paper, leaving an inch of overhang on each side for easy lift‑out. This step sets the stage for a smooth crust and even baking.
- In a medium bowl, combine 2 cups graham cracker crumbs, 1/4 cup granulated sugar, and 1/2 cup melted unsalted butter. Stir until the mixture resembles wet sand. Press the crumb mixture firmly into the bottom of the prepared pan, smoothing the surface with a flat glass. The crust should feel solid and compact.
- Bake the crust for 8 minutes until it turns a light golden brown. Remove it from the oven and let it cool completely; this prevents the filling from curdling when it hits the hot crust.
- In a stand mixer, beat 24 oz of room‑temperature cream cheese on medium speed until smooth and creamy. Gradually add 1 cup granulated sugar, then 3 large eggs one at a time, mixing until just combined. The mixture should be silky, with no lumps. This is the moment of truth—if you rush, the eggs will curdle.
- Melt 6 oz of high‑quality white chocolate over a double boiler or in short bursts in the microwave. Stir until smooth, then fold it into the cream cheese mixture. The white chocolate should coat the batter like velvet, adding a glossy sheen.
- Fold in 1/2 cup sour cream, 1 tsp vanilla extract, 1 tbsp fresh lemon juice, and 1 1/2 cups fresh raspberries. Gently fold to distribute the berries without breaking them; the berries should remain whole for that burst of flavor.
- Pour the filling over the cooled crust, smoothing the top with a spatula. Tap the pan gently to release any air bubbles. The filling should settle evenly across the surface.
- Bake for 30 minutes, or until the edges set and the center still has a slight wobble. The bars should emit a sweet, buttery aroma that makes the kitchen feel like a bakery. Remove from the oven and let them cool completely on a wire rack.
That's it — you did it. But hold on, I've got a few more tricks that'll take this to another level. Stay with me here — this is worth it.
Insider Tricks for Flawless Results
The Temperature Rule Nobody Follows
Keep the oven temperature steady at 325°F (160°C). Even a 10‑degree fluctuation can cause the filling to overcook, resulting in a dry center. I’ve used a reliable oven thermometer to double‑check the heat before baking.
Why Your Nose Knows Best
Smell the batter as it mixes. It should have a sweet, buttery aroma that signals the sugar is dissolving properly. If it smells raw or metallic, the eggs may have been over‑mixed or the chocolate over‑heated.
The 5‑Minute Rest That Changes Everything
After baking, let the bars rest at room temperature for 5 minutes before cooling on a rack. This brief pause allows the filling to set fully, preventing a runny center when sliced.
Keep the Crust Crunchy
Press the crust firmly into the pan and bake until golden. A firm crust resists the moisture from the filling, maintaining that satisfying crunch even after refrigeration.
Use a Parchment Paper Edge
Line the pan with parchment paper that extends over the sides. This makes removing the bars a breeze and keeps the edges from sticking.
Let the Raspberries Sit
After adding the berries, let the mixture sit for 10 minutes before baking. This allows the berries to release their juices, creating a more integrated flavor.
Creative Twists and Variations
This recipe is a playground. Here are some of my favorite ways to switch things up:
Chocolate‑Berry Fusion
Swap the white chocolate for dark chocolate and add a handful of chopped dark chocolate chips. The result is a rich, bittersweet dessert that still carries the berry brightness.
Lemon‑Zest Delight
Add zest from two lemons to the filling and replace the raspberries with fresh blueberries. The citrus lift becomes more pronounced, and the blueberries add a subtle sweetness.
Nutty Crunch
Fold in 1/2 cup chopped toasted pecans or walnuts into the batter. The nuts provide a crunchy texture that contrasts with the creamy center.
Minty Fresh
Add a teaspoon of fresh mint extract to the filling and sprinkle chopped mint leaves on top before serving. The mint adds a cooling contrast to the warm chocolate.
Caramel Swirl
Drizzle a thin layer of caramel sauce over the cooled filling before refrigerating. The caramel adds a buttery sweetness that pairs beautifully with the white chocolate.
Alcoholic Touch
Stir in 2 tbsp of Chambord or raspberry liqueur into the batter. The subtle alcohol enhances the berry flavor and adds an adult twist.
Storing and Bringing It Back to Life
Fridge Storage
Store the bars in an airtight container in the refrigerator for up to 5 days. Keep them covered with parchment paper to prevent them from absorbing fridge odors. When ready to serve, let them sit at room temperature for 15 minutes to soften slightly.
Freezer Friendly
Wrap each bar tightly in plastic wrap and then in aluminum foil. Freeze for up to 3 months. To thaw, leave them in the refrigerator overnight and then let them rest at room temperature for 10 minutes before serving.
Best Reheating Method
Reheat chilled bars in the microwave on low power (30 seconds at a time) until just warm. Add a tiny splash of water (about a teaspoon) before heating to create steam, which helps restore the bars’ silky texture. Avoid over‑heating to keep the filling from separating.