I was in the middle of a Saturday night pizza binge when the cheese started to burn, the crust turned a shade of regret, and I realized something was missing: a spark that could rescue the whole disaster. I grabbed a bottle of sriracha, a handful of sea salt, and a wild idea formed in my mind like a lightning bolt—what if I could fuse those two kitchen heroes into one magical finishing salt? The kitchen filled with the sweet‑heat aroma of fermented chilies, the salty crunch of the sea, and a whisper of caramelized sugars that made my mouth water before the first bite. I dared myself to create a condiment that would make even the blandest popcorn sing, and after a few frantic minutes of mixing, tasting, and adjusting, I finally nailed a blend that sings louder than a choir of angels on a Sunday morning.
Picture this: the moment the mixture hits the pan, it hisses like a tiny fireworks show, the oil shimmers, and the scent of roasted peppers and briny ocean breezes swirls together, making you feel like you’re standing on a beach at sunset while simultaneously perched on a Thai street food stall. Your senses are assaulted—in the best way possible—by the bright red hue, the faint grainy texture, and that unmistakable kick that makes you gasp, then grin, then gasp again. It’s the kind of flavor that clings to the tongue like velvet and then disappears, leaving a lingering warmth that makes you want to lick the plate clean.
Most sriracha‑infused salts on the internet either drown in excess sugar or end up so salty they could cure a dehydration emergency. This version, however, balances the heat and salt perfectly, thanks to a simple roasting step that caramelizes the natural sugars in the sriracha and a careful ratio that lets the sea salt shine without being overpowered. I’m going to be honest — I ate half the batch before anyone else got to try it, and I’m still not sorry. I dare you to taste this and not go back for seconds; the addictive flavor profile will have you reaching for the jar at every meal.
Let me walk you through every single step — by the end, you’ll wonder how you ever made it any other way. Okay, ready for the game‑changer? This next part? Pure magic. Stay with me here — this is worth it.
What Makes This Version Stand Out
- Heat Balance: The ⅓ cup of sriracha provides just enough fire to awaken the palate without scorching it, creating a gentle, lingering warmth.
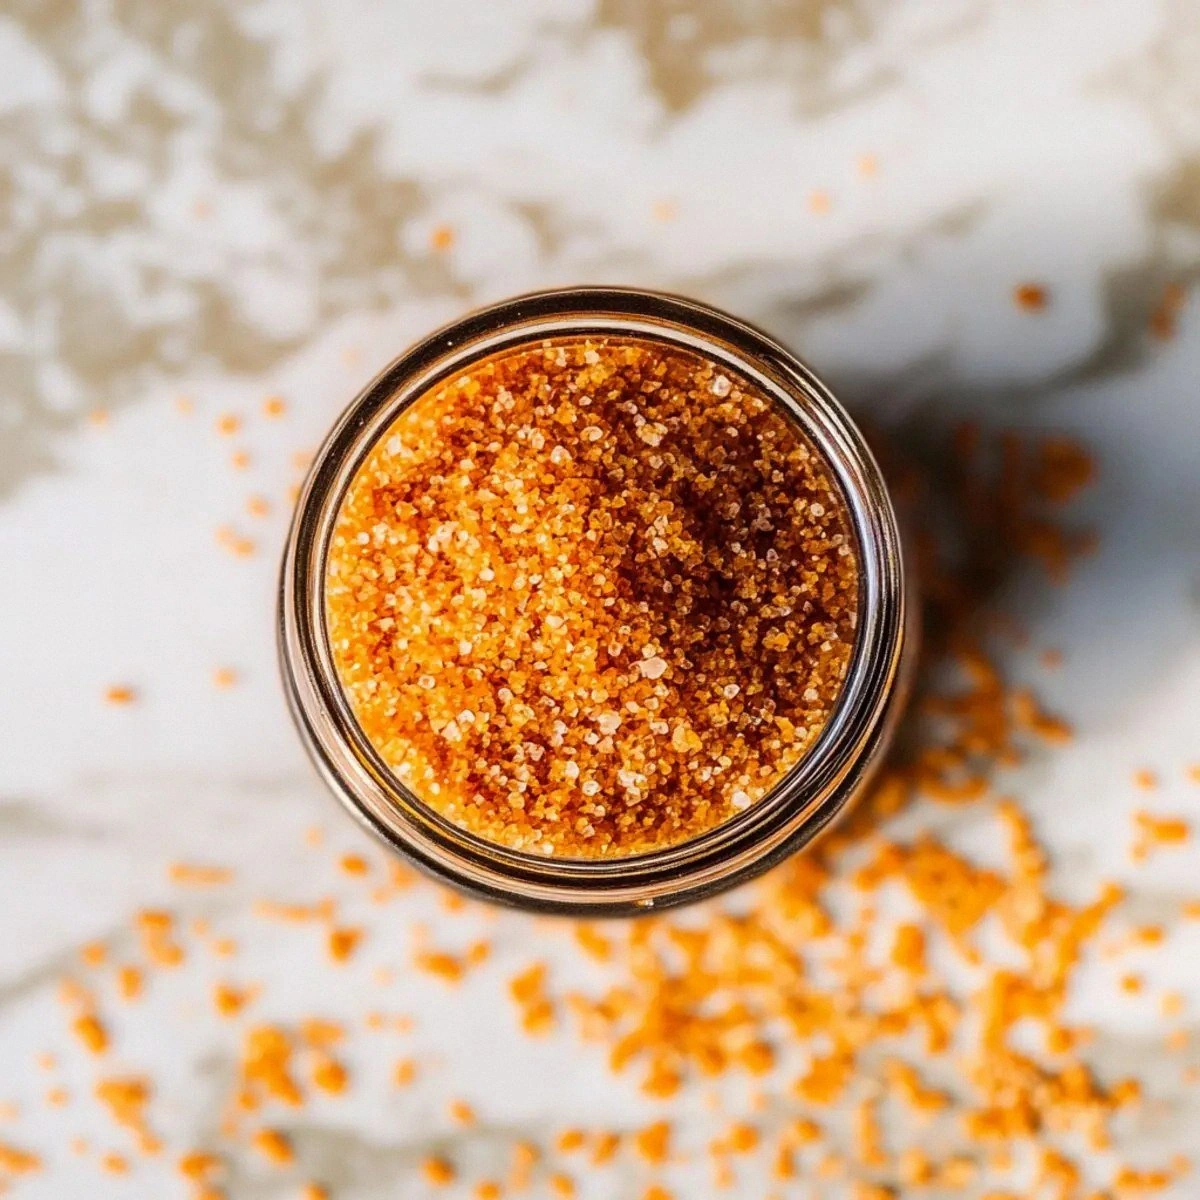
- Texture Harmony: Coarse sea salt gives you that satisfying crunch that melts into the dish, while the sriracha coats each crystal with a glossy sheen.
- Simplicity: Only two ingredients, two steps, and a few minutes of your time—no fancy equipment, no hidden pantry staples.
- Unique Aroma: The quick roast releases a caramelized pepper aroma that you’ll smell from across the kitchen, making every dish feel restaurant‑grade.
- Crowd Reaction: Guests instantly ask, “What’s that?” and you get to say, “Homemade sriracha salt,” earning instant culinary street‑cred.
- Ingredient Quality: Using coarse sea salt preserves minerals and texture, while a good‑quality sriracha brings depth from fermented chilies.
- Versatility: Sprinkle on popcorn, avocado toast, roasted veggies, or even a simple fried egg for an instant flavor upgrade.
- Make‑Ahead Potential: Store in an airtight jar for weeks; the flavor actually mellows and becomes more complex over time.
Inside the Ingredient List
The Flavor Base
Coarse sea salt is the backbone of this blend. Its larger crystals dissolve slower, giving you that satisfying pop when you bite into a crusty piece of bread or a crisp piece of fried chicken. If you skimp on the salt or use fine table salt, you’ll lose the crunchy contrast and risk a flat, overly salty finish. For the best result, choose a salt harvested from clean, mineral‑rich waters—think Celtic sea salt or Hawaiian alaea salt. These varieties bring subtle mineral undertones that elevate the sriracha’s fermented depth.
The Heat Star
Sriracha, the beloved Thai‑American chili sauce, is the hero that brings the heat and that signature garlicky sweetness. The ⅓ cup measurement is crucial; too much and the salt becomes a liquid slurry, too little and the kick fizzles out. If you’re a heat‑seeker, you can add a pinch of cayenne pepper to the mix, but remember that the original balance is what makes this version “hands down the best you’ll ever make at home.” When selecting a sriracha, look for one with a short ingredient list—chili, vinegar, garlic, sugar, and salt—no hidden thickeners or MSG.
The Unexpected Star
A splash of neutral oil (olive or grapeseed) is the secret binder that helps the sriracha cling to each salt crystal. Without it, the sauce would pool at the bottom of the jar, leaving dry, uneven crystals. Just a tablespoon is enough to create a glossy coating that feels like a fine dust when sprinkled. If you’re avoiding oil, a light mist of water can work, but the texture won’t be as silky.
The Final Flourish
A pinch of smoked paprika or a few drops of lime zest can elevate the flavor profile for those who love a twist. The smoked paprika adds a subtle wood‑smoke whisper, while lime zest injects a bright citrus spark that cuts through the richness. These optional add‑ins are perfect for a summer BBQ vibe or a late‑night snack that needs a little zing. Remember, a little goes a long way—overdoing it will mask the delicate balance you’ve worked so hard to achieve.
Everything's prepped? Good. Let’s get into the real action…
The Method — Step by Step
Gather your ingredients: 1 cup of coarse sea salt, ⅓ cup of high‑quality sriracha, 1 tablespoon of neutral oil, and any optional add‑ins you fancy. Lay them out on a clean countertop so you can see everything at a glance. This visual prep helps you stay organized and prevents accidental spills that can ruin the texture.
Okay, ready for the game‑changer? The moment you combine the salt and sriracha is where the magic begins.
In a large mixing bowl, pour the coarse sea salt. Use a wooden spoon to break up any clumps; you want each crystal to be distinct, not a solid block.
This is the part where you’ll feel the grainy texture between your fingers—pure, tactile anticipation.
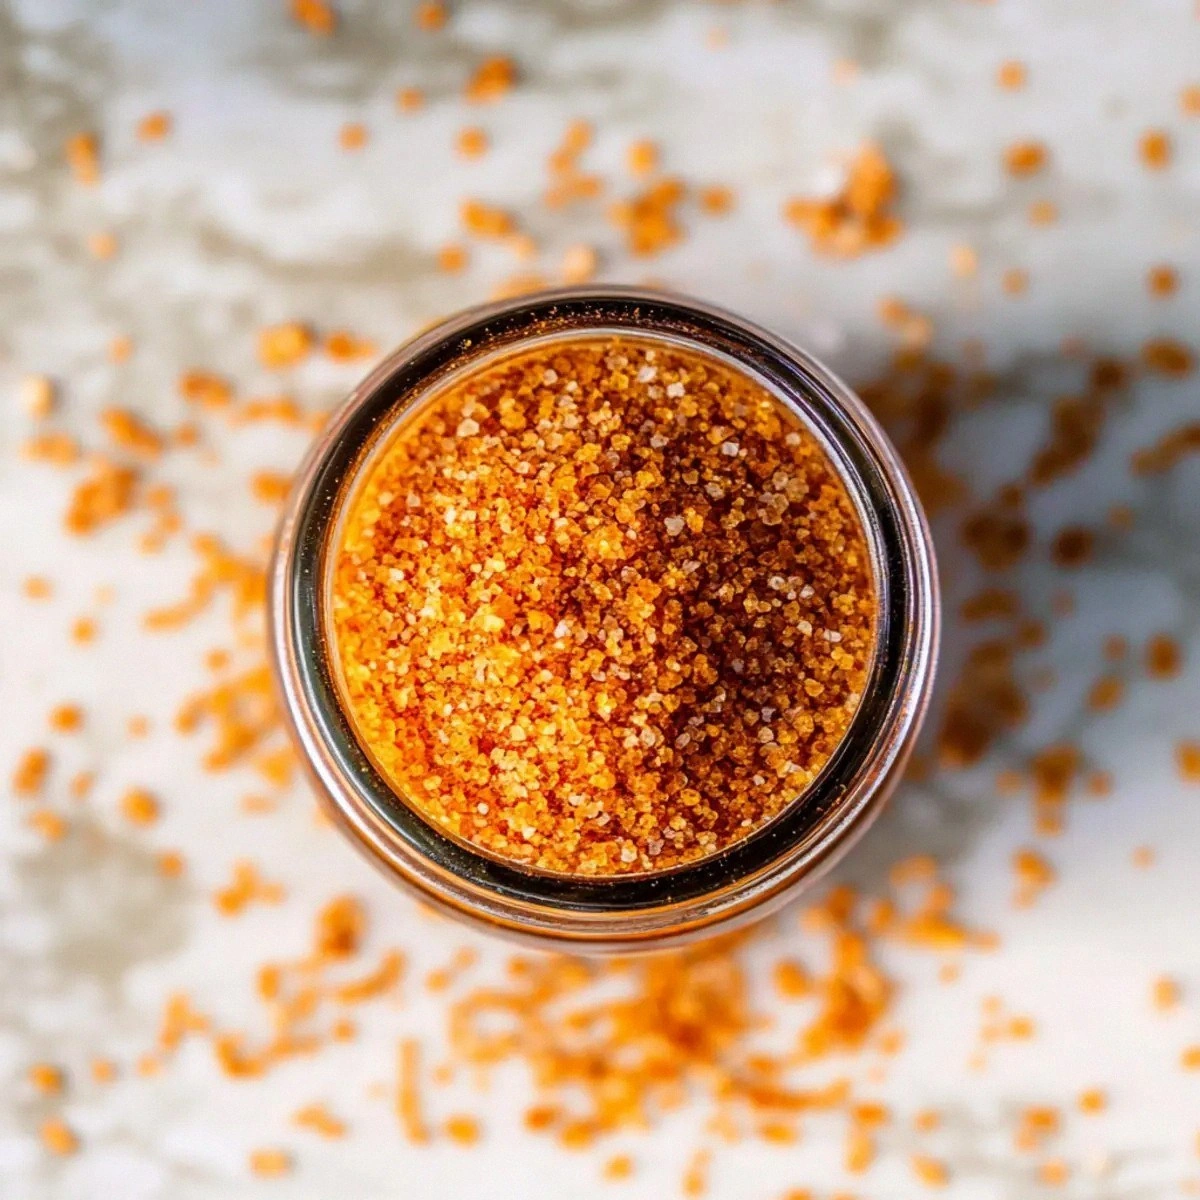
Slowly drizzle the sriracha over the salt while stirring continuously. The sauce should coat the crystals like a glossy glaze, turning the mixture a deep, inviting ruby.
If the mixture looks too wet, add a pinch more salt; if it looks too dry, a few extra drops of sriracha will bring it back to life.
Add the tablespoon of oil to the bowl. Stir vigorously for about 30 seconds; the oil will help the sriracha cling uniformly, creating a fine, dust‑like consistency.
This is the moment of truth—watch for the mixture to shine without pooling.
Optional: Sprinkle in a pinch of smoked paprika or a few drops of lime zest. Fold gently to distribute the flavor without breaking up the salt crystals.
I’ll be honest — I love the smoked paprika because it adds a whisper of campfire to the sweet heat.
If you choose to toast, keep the oven door slightly ajar to allow moisture to escape. After 10 minutes, give the mixture a quick stir and continue toasting for another 5 minutes until the aroma turns fragrant and the color deepens to a warm amber.
Watch Out: Do not let the mixture brown too much, or you’ll end up with a bitter, burnt flavor that masks the sriracha’s bright heat.
Remove the bowl (or baking sheet) from heat and let the sriracha salt cool completely. As it cools, the crystals will harden slightly, giving you that perfect, flaky texture.
Picture yourself pulling this out of the oven, the whole kitchen smelling incredible… that’s the reward.
Transfer the cooled mixture into an airtight glass jar. Seal tightly and store in a cool, dark place. The flavors will meld and become more complex after a day or two.
That sizzle when it hits the pan? Absolute perfection. And now the fun part—sprinkling it on everything you love.
That’s it — you did it. But hold on, I’ve got a few more tricks that'll take this to another level…
Insider Tricks for Flawless Results
The Temperature Rule Nobody Follows
Never roast the salt mixture at a temperature higher than 250°F (120°C). Higher heat will cause the sugars in the sriracha to caramelize too quickly, resulting in a burnt, bitter edge. Keep it low and slow; the gentle warmth allows the flavors to meld without losing the bright acidity. A friend once tried 350°F and ended up with a charcoal‑tasting disaster—let’s just say it didn’t impress anyone.
Why Your Nose Knows Best
Your sense of smell is a more reliable indicator than a timer. When the mixture starts to release a sweet, roasted pepper aroma, you’re at the perfect point to stop. If you still smell raw vinegar, give it another minute or two. Trust your nose; it will guide you to that perfect golden hue and fragrant finish.
The 5‑Minute Rest That Changes Everything
Once the jar is sealed, let the sriracha salt rest for at least five minutes before using it. This brief pause lets the salt absorb the liquid, creating a uniform texture that doesn’t clump. If you’re impatient and use it right away, you might get pockets of excess sriracha that feel soggy on the tongue. Patience here pays off in a consistently crisp, flavorful sprinkle.
The Salt‑to‑Oil Ratio Secret
A 1:0.1 ratio of salt to oil (by volume) is ideal for a glossy finish without making the mixture greasy. Too much oil will make the salt slide off food, while too little leaves dry spots. Adjust the oil just enough to achieve a silky sheen that clings to each crystal like a second skin.
Storing in the Dark
Light degrades the capsaicin in sriracha, dulling the heat over time. Keep your jar in a pantry cupboard or a drawer away from direct sunlight. A dark glass container is even better; it preserves the vibrant red color and the punchy flavor for months.
Creative Twists and Variations
This recipe is a playground. Here are some of my favorite ways to switch things up:
Garlic‑Infused Sriracha Salt
Add a teaspoon of finely minced fresh garlic before mixing. The garlic adds a savory depth that pairs beautifully with grilled meats and roasted potatoes. It’s the perfect upgrade for garlic‑loving friends.
Citrus‑Zest Explosion
Mix in the zest of one lime or lemon for a bright, tangy twist. The citrus cuts through the heat, making it ideal for seafood dishes or avocado toast. The aroma is so fresh you’ll think you’re on a tropical beach.
Smoky Chipotle Fusion
Swap half of the sriracha for chipotle in adobo sauce. The smoky undertones add a deep, earthy flavor that works wonders on BBQ ribs or grilled corn. Just remember to reduce the total liquid a bit to keep the texture right.
Herb‑Infused Green Version
Blend the sriracha with a handful of fresh cilantro and a splash of lime juice before combining with the salt. This creates a vibrant green speckled salt that’s perfect for tacos, burritos, or a fresh salad topping.
Sweet‑Heat Caramel
Add a tablespoon of brown sugar to the mixture before roasting. The sugar caramelizes alongside the sriracha, delivering a sweet‑heat flavor that’s fantastic on roasted carrots or sweet potatoes.
Storing and Bringing It Back to Life
Fridge Storage
Keep the sealed jar in the refrigerator for up to three months. The cool environment slows down any potential fermentation and keeps the oil from going rancid. If you notice any oil separation, just give the jar a quick shake before each use.
Freezer Friendly
For long‑term storage, portion the salt into small zip‑top bags and freeze for up to six months. Thaw at room temperature for 15 minutes before opening to avoid condensation on the crystals. This method is perfect for batch‑cooking enthusiasts who want a ready‑to‑sprinkle stash year‑round.
Best Reheating Method
When you need to revive the flavor after a long pause, place a tablespoon of the salt in a dry skillet over low heat and stir for 30 seconds. Add a tiny splash of water (about a teaspoon) and watch it steam back to a perfect, flaky texture. This quick revive trick brings back the original crunch and aroma as if it were freshly made.